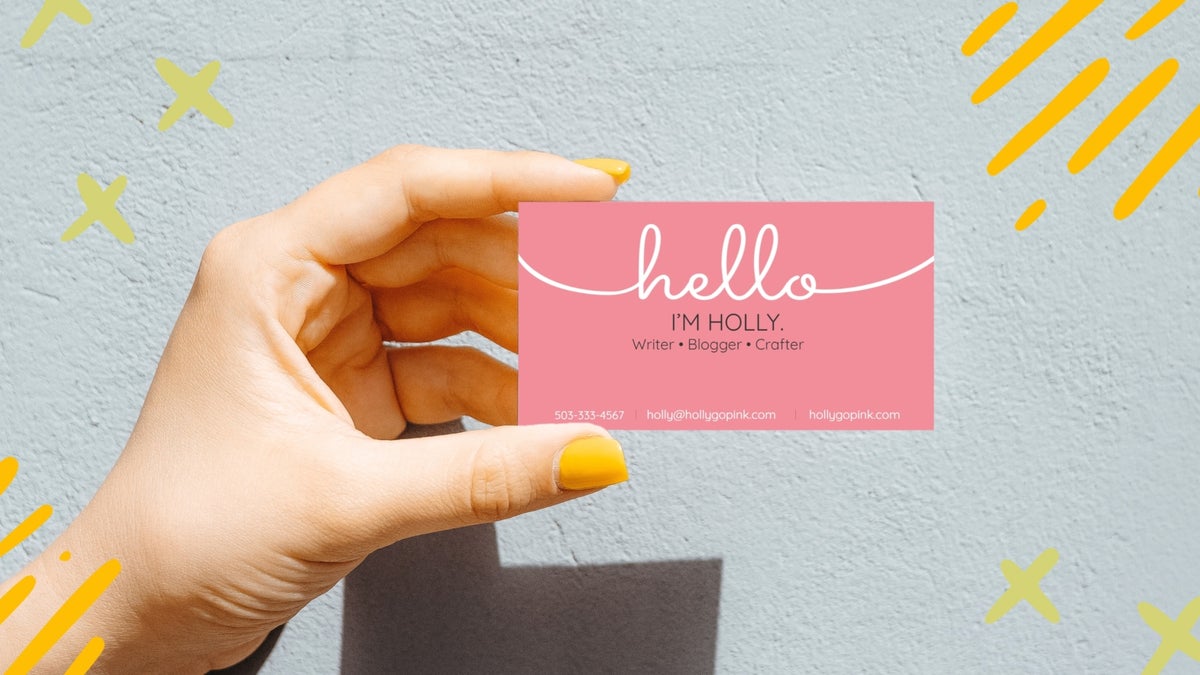
Printing your own business cards at home can save you time and money while giving you full control over the design. Imagine handing out cards that look professional without waiting days for an order to arrive.
Thank you for reading this post, don't forget to subscribe!You’ll discover simple steps to create sharp, eye-catching business cards using just your printer and a few supplies. Whether you’re starting a new venture or refreshing your current look, you’ll learn how to make a great first impression—right from your desk.
Keep reading, and you’ll be ready to print business cards that truly represent you.
:max_bytes(150000):strip_icc()/GettyImages-185290004-5ad89fc4eb97de003770381a.jpg)
Credit: www.thebalancemoney.com
Choosing Card Stock
Choosing the right card stock is key to printing quality business cards at home. The paper you select affects the card’s look, feel, and durability. Thicker, sturdier paper feels more professional. Thinner paper may bend or tear easily. Picking the best card stock helps your card stand out and last longer.
Types Of Paper
Business cards use various paper types. Matte paper has a smooth, non-shiny surface. It gives a soft, modern look. Glossy paper shines and reflects light. It makes colors appear bright and sharp. Textured paper offers unique surfaces like linen or felt. These add a special touch to cards. Choose paper type based on your style and message.
Weight And Finish Options
Paper weight shows thickness and strength. Measured in pounds (lb) or grams per square meter (gsm). Common business card weight is 80 to 110 lb. Heavier cards feel more solid and high-quality. Finish options include matte, glossy, and satin. Matte finish reduces glare and is easy to write on. Glossy finish makes images pop but can smudge. Satin finish offers a balance with slight shine.
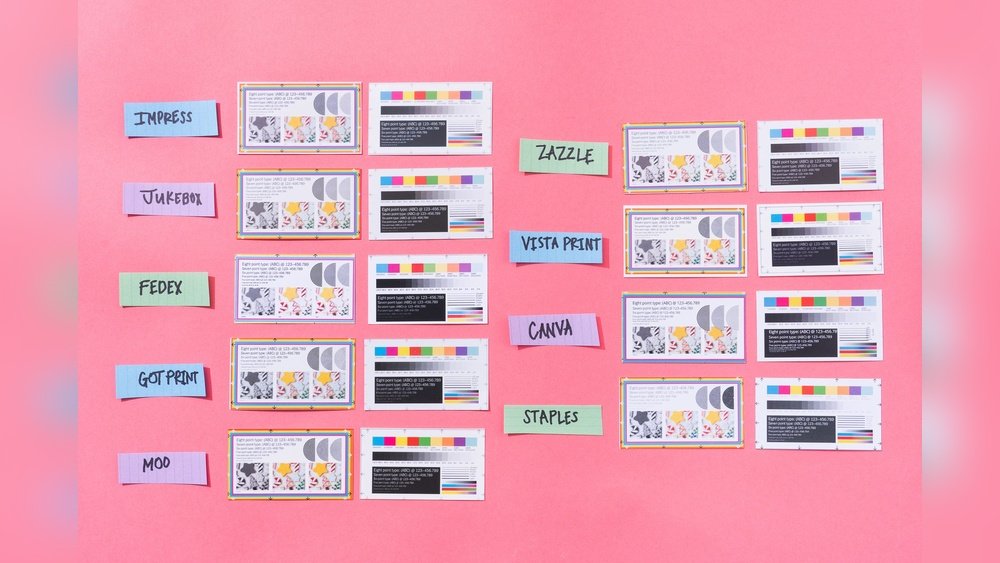
Where To Buy
Buy card stock at office supply stores or online shops. Check product details for paper type, weight, and finish. Some stores sell packs designed for home printers. Specialty paper stores offer more choices and textures. Buying locally lets you test samples before purchasing. Online stores often provide reviews and bulk discounts.
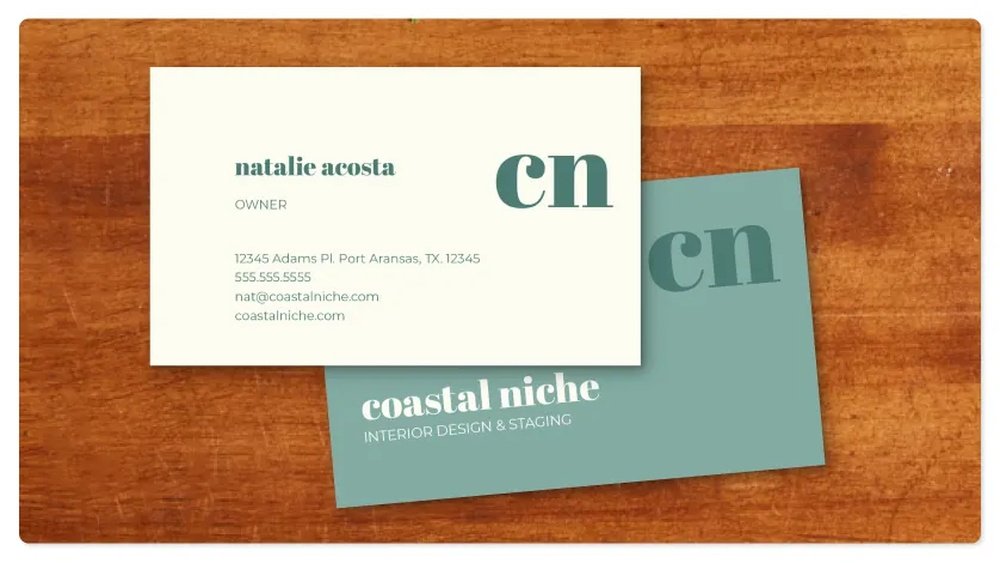
Designing Your Card
Designing your business card is the first step to print at home. A good design makes your card look professional and clear. It shows your name, job, and contact details in a neat way. Simple designs work best. Avoid too many colors or fonts. The design must match your business style.
Use tools or software to create your design. This helps you see how the card will look before printing. Keep the size right, usually 3.5 by 2 inches. Leave space around edges to avoid cutting errors. Now, let’s explore how to design your card.
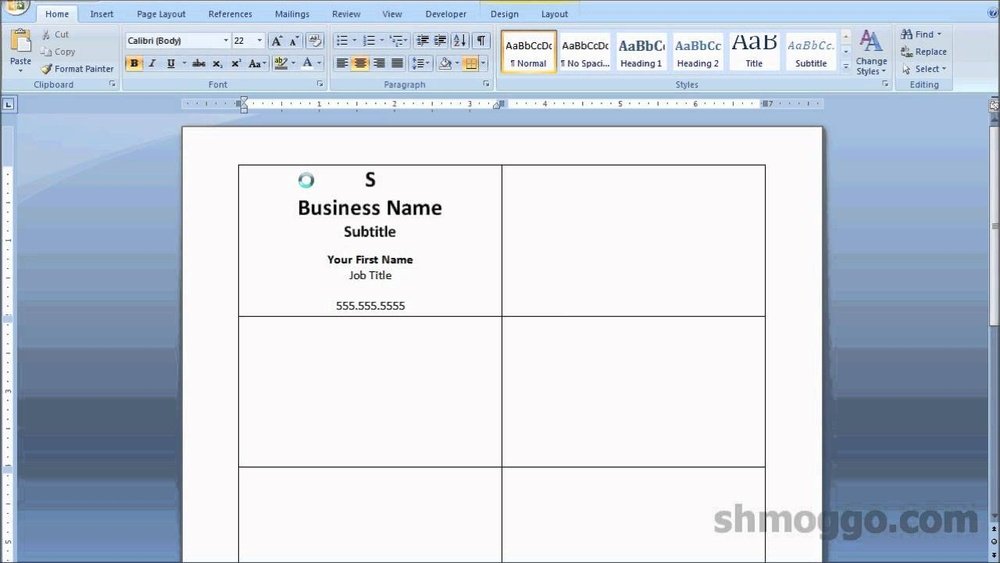
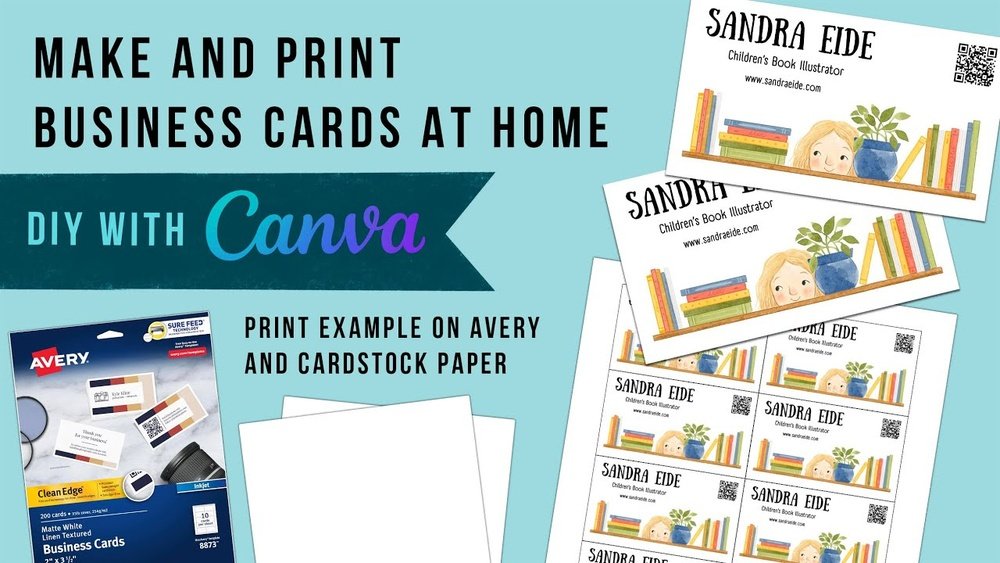
Using Templates
Templates save time and effort. Many free templates are available online or in software. Templates have fixed sizes and layouts. They help place your text and logos correctly. Choose a template that fits your business style. This way, you start with a good base. Change the details to match your needs. Templates reduce mistakes and make design easier.
Customizing Layouts
Layouts show where your text and images go. Change the layout to suit your information. Place your name and title clearly. Put contact details like phone and email in easy spots. Keep important info large and readable. Balance text and empty space. Avoid clutter. A clean layout looks professional and is easy to read. Adjust margins and alignment to fit your style.
Selecting Fonts And Colors
Fonts and colors affect how your card feels. Use simple fonts like Arial or Times New Roman. They are easy to read. Avoid fancy fonts that are hard to see. Choose two colors max for a neat look. Dark text on a light background works best. Use colors that match your brand. Keep contrast high for better visibility. Consistent fonts and colors build trust.
Setting Up Your Printer
Setting up your printer correctly is the first step to print business cards at home. A proper setup ensures clear prints and professional results. Follow simple steps to prepare your printer before starting your project.
Printer Compatibility
Check if your printer supports card stock or thick paper. Most inkjet and laser printers handle standard business card paper. Look at your printer manual for paper thickness limits. Use a printer designed for photo or heavy paper for best results. Avoid printers that only print on thin sheets.
Ink Selection
Choose the right ink for sharp colors and durability. Inkjet printers use liquid ink that gives bright colors. Laser printers use toner that dries fast and resists smudges. Use original ink or toner recommended by your printer brand. Cheap ink can cause poor print quality and fading.
Adjusting Print Settings
Change printer settings to match your business card paper. Select the correct paper type, such as “card stock” or “thick paper.” Set print quality to “high” or “photo” for clear images. Adjust paper size to match your card dimensions. Preview the print to avoid mistakes before printing.

Credit: www.youtube.com
Printing Tips
Printing business cards at home requires some care for the best results. Small steps can make a big difference in quality. These tips help you avoid common printing problems. They save time and reduce wasted materials. Follow them to get clear, sharp, and professional-looking cards.
Test Prints
Always start with a test print on plain paper. This shows how your design fits the page. Check colors and text size. Make sure nothing is cut off or blurry. Test prints help spot mistakes early. Save ink and card stock by fixing issues first.
Aligning Cards
Use the template that matches your card stock. Align your paper carefully in the printer tray. This keeps cards from printing crooked or off-center. Use a ruler to check lines and margins. Proper alignment makes cutting easier and results neater.
Avoiding Smudges
Choose the right paper for your printer type. Inkjet and laser printers need different card stock. Let each card dry fully before stacking or cutting. Handle cards by the edges to keep them clean. Smudges ruin the look and feel of your cards.
Cutting And Finishing
Cutting and finishing are key steps to make business cards look professional. Clean cuts and smooth edges give a neat and polished appearance. This part is important to ensure your cards stand out and feel good in hand.
Proper cutting helps keep your cards the right size. Finishing touches add personality and style. Both steps need the right tools and careful work.
Tools For Cutting
Use a sharp paper cutter or craft knife for clean edges. A metal ruler helps guide straight cuts. Scissors work but may not give perfect edges. A cutting mat protects surfaces and keeps cuts smooth. Avoid dull blades to prevent rough cuts or tears.
Trimming Techniques
Measure twice, cut once. Mark cut lines lightly with a pencil. Cut slowly and steadily to avoid mistakes. Use firm pressure on the cutter for even edges. Keep your hand steady and move the blade smoothly. Trim all cards in the same way for uniform size.
Adding Special Touches
Round the corners with a corner punch for a modern look. Use embossing or foil stickers for texture and shine. Matte or gloss laminates protect cards and add style. Handwritten notes or stamps create a personal touch. Small details make your cards memorable and unique.
Credit: www.befunky.com
Troubleshooting Common Issues
Printing business cards at home can save time and money. Still, you may face some common problems. These issues can stop your print job or ruin the card’s look. Fixing them fast keeps your workflow smooth and your cards professional.
Below are simple ways to solve typical printing problems. Follow these tips to get the best results from your home printer.
Paper Jams
Paper jams happen when paper gets stuck inside the printer. Remove the paper gently to avoid damage. Check the paper tray for bent or folded sheets. Use the right paper type and size for your printer. Keep the printer clean to prevent dust buildup. Feed one sheet at a time to stop jams.
Color Inconsistencies
Colors may look different from your screen or fade on prints. Check ink levels and replace empty cartridges. Clean the print heads to avoid streaks and spots. Use printer settings for the best color quality. Choose high-quality paper for sharper colors. Calibrate your monitor and printer for matching colors.
Misaligned Prints
Business cards print off-center or crooked. Adjust the paper guides in the tray to hold cards straight. Use the printer’s alignment tool or software. Print a test page before the final run. Make sure the design fits the card size exactly. Avoid overloading the tray to keep cards aligned.
Frequently Asked Questions
How Do I Prepare My Design For Home Printing?
Use a high-resolution image (300 dpi) for clear prints. Set correct card size (3. 5″ x 2″). Include bleed margins to avoid cutting errors. Save the file as PDF or PNG for best results.
What Paper Type Is Best For Printing Business Cards At Home?
Choose thick cardstock, ideally 80-110 lb, for durability. Matte or glossy finishes work well depending on your style. Ensure your printer supports the selected paper thickness for smooth printing.
Can I Use A Regular Home Printer For Business Cards?
Yes, most inkjet or laser printers handle business card printing. Use high-quality ink and proper paper for sharp results. Adjust printer settings to photo or best quality mode.
How Do I Cut Business Cards Accurately At Home?
Use a precision paper cutter or a sharp craft knife with a ruler. Cut slowly along crop marks for clean edges. Avoid scissors to maintain uniform size and professional look.
Conclusion
Printing business cards at home saves time and money. You control the design and quality easily. Use the right paper and printer for best results. Practice a few times to avoid mistakes. Keep your design simple and clear. This way, your cards look professional and neat.
Small efforts bring great results. Start printing your cards today and share your contact with confidence.