You want your business card to stand out and make a lasting impression. But before you send it to print, there’s a crucial step you can’t afford to miss: making your file print ready.
Thank you for reading this post, don't forget to subscribe!If your design isn’t set up correctly, you might end up with blurry images, cut-off text, or colors that look completely different in real life. This guide will show you exactly how to prepare your business card so it looks sharp, professional, and exactly how you imagined.
Keep reading—you’re just a few simple steps away from perfect prints that grab attention every time.
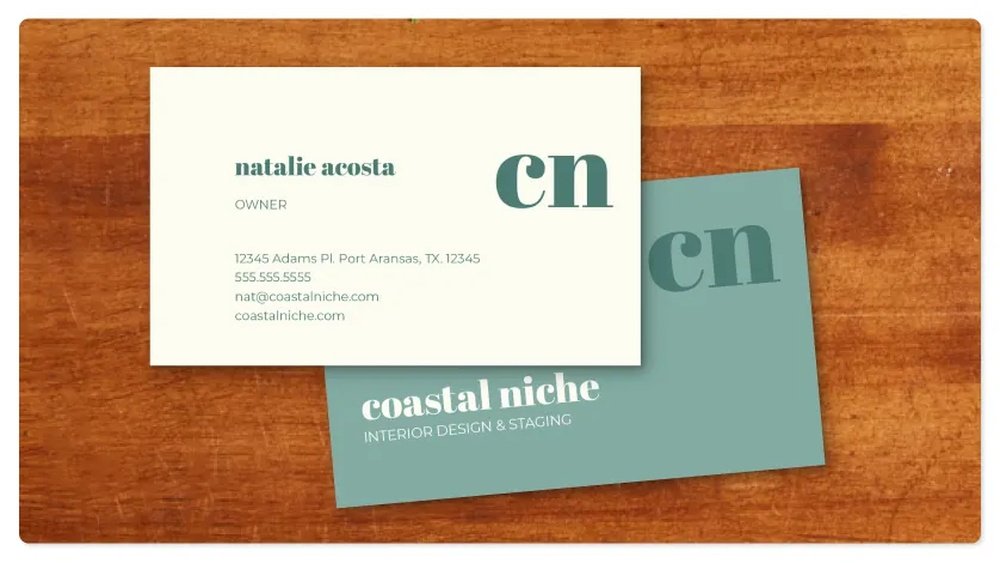
Credit: graphicmama.com
Design Basics
Design basics are essential to create a print-ready business card. A clear design ensures your card looks professional and stands out. Focus on simple steps that improve the look and feel. This helps your card deliver the right message effectively.
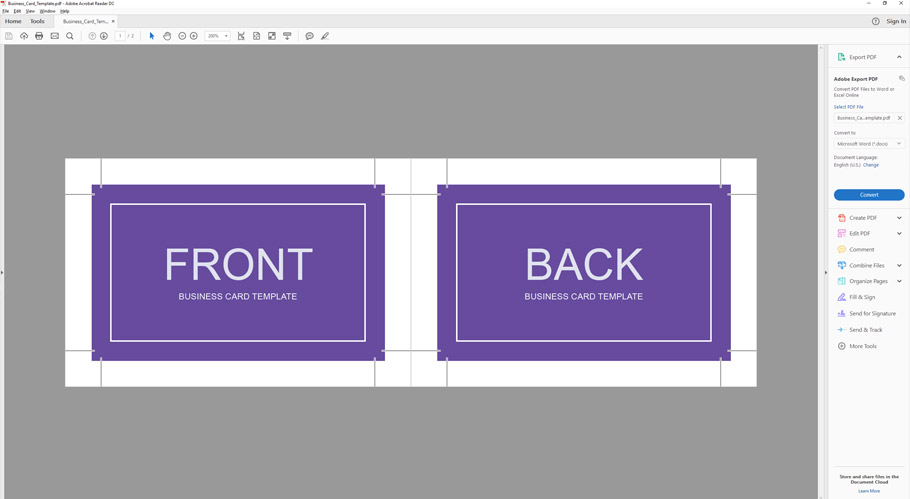
Choosing Dimensions
Standard business card size is 3.5 x 2 inches. This size fits easily in wallets and cardholders. Use this size unless you want a special shape. Keep a 0.125-inch bleed around the edges. Bleed prevents white borders after cutting. Make sure your design stays inside the safe area.
Selecting Fonts
Choose clean and easy-to-read fonts. Avoid fancy or script fonts that are hard to read. Use no more than two different fonts on your card. One font for the name and another for details works well. Keep font size between 8 and 12 points for clarity.
Color Considerations
Use colors that match your brand identity. Choose CMYK colors for printing accuracy. Bright colors can attract attention but may increase cost. Avoid very light colors for text to keep readability high. Check color contrast between text and background.
Credit: pixflow.net
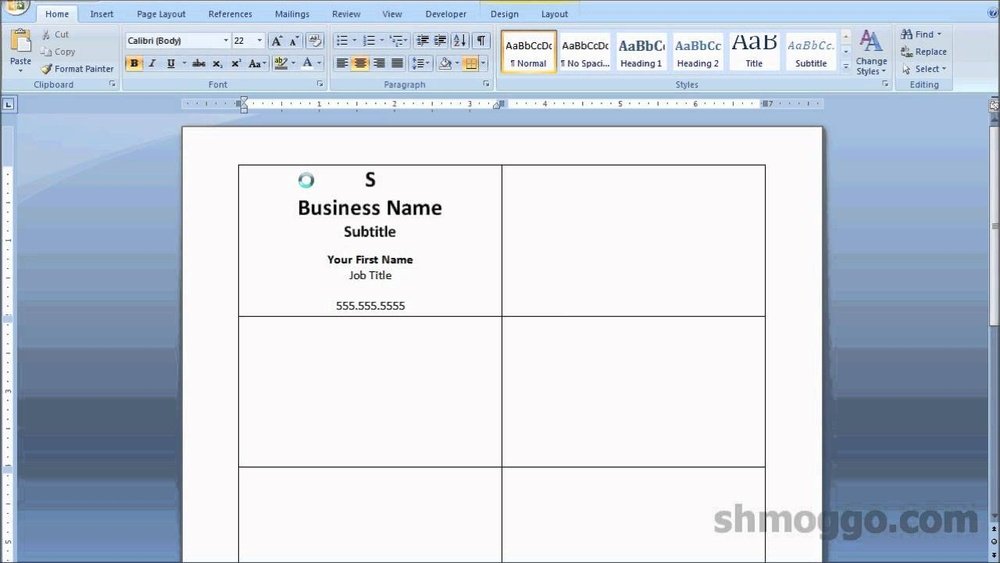
Setting Up Bleed And Margins
Setting up bleed and margins is a key step in making a business card print ready. These elements ensure the design prints correctly without unwanted white edges or cut-off text. Proper bleed and margin settings protect your card’s look during the printing process.
Design programs like Adobe Illustrator or Photoshop allow you to set bleed and margins before exporting your file. This preparation avoids mistakes and wasted print jobs. Understanding bleed and safe zones helps your design stay sharp and professional.
Importance Of Bleed
Bleed is extra space around your business card design. It extends beyond the final cut size. Printers use bleed to trim cards accurately without leaving white borders.
Without bleed, small cutting errors can show white edges. This makes the card look cheap or unfinished. The standard bleed size is usually 1/8 inch (3mm) on all sides.
Adding bleed means your background colors or images go past the card edges. This ensures full coverage after trimming. Bleed prevents important parts of your design from being cut off.
Safe Zone Guidelines
The safe zone is the area inside the card where all text and logos should stay. It keeps important content away from edges and potential trimming errors.
Keep text and logos at least 1/8 inch (3mm) inside the trim line. This space protects them from being cut or too close to the edge. The safe zone helps maintain a clean, readable design.
Ignoring safe zones can cause essential information to be cut or hard to see. Always check your design fits inside the safe zone. This step ensures a professional and well-balanced business card.
Image Resolution And Quality
Image resolution and quality play a big role in business card printing. Low-quality images look blurry or pixelated. High-quality images appear sharp and clear. This makes your card look professional and easy to read.
Choosing the right resolution and file type ensures your design prints well. It helps keep colors and details crisp. This section explains how to prepare images correctly for print.
Recommended Dpi
DPI means dots per inch. It measures image resolution for print. For business cards, 300 DPI is the best choice. This resolution gives clear, sharp prints.
Images below 300 DPI may look blurry or pixelated. Higher DPI files are larger and may slow down printing. Stick to 300 DPI for a balance of quality and file size.
File Formats For Images
Choose the right file format to keep image quality high. TIFF and PNG are great for print. They keep details without losing quality.
JPEG is common but can lose quality if compressed too much. Avoid using low-quality JPEGs. Save your images in TIFF or PNG for the best print results.
File Formats For Printing
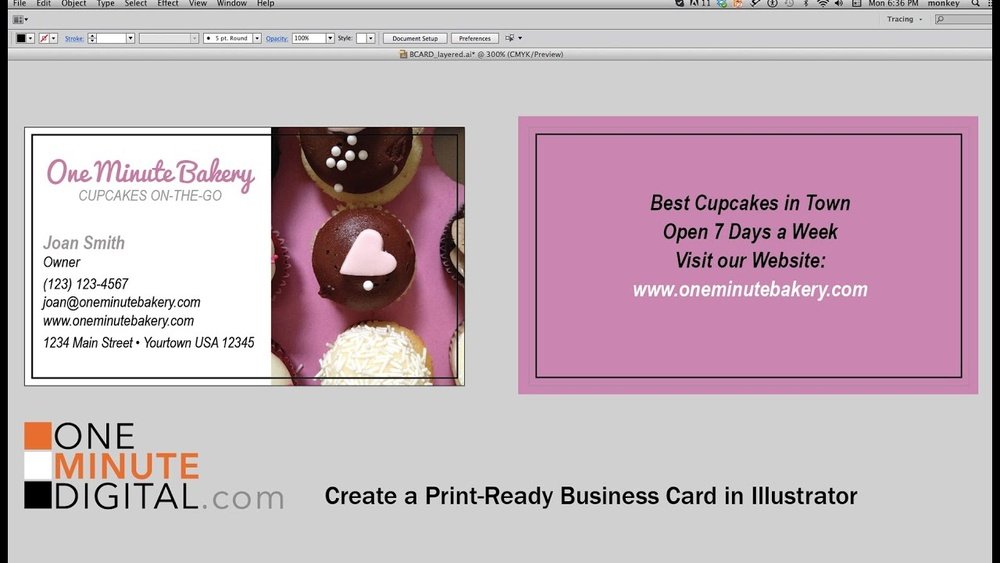
Choosing the right file format is key to making a business card print ready. Print shops need specific formats to produce sharp and clear cards. Using the correct format saves time and avoids extra costs. It also ensures the colors and details look perfect on paper.
Preferred File Types
Vector files like PDF, AI, and EPS are best for business card printing. They keep your design sharp at any size. PDF files are widely accepted and easy to open. AI and EPS files come from design programs and hold layers and paths. These formats help printers manage color and quality well.
Embedding Fonts And Images
Fonts and images must be embedded inside the file. This means including all text styles and pictures used in the design. Embedding prevents font changes or missing images during printing. Without embedding, printers may replace fonts or skip images. Embedding keeps your card looking exactly as designed.
Proofing And Final Checks
Proofing and final checks are vital before sending your business card for print. Small errors can ruin the professional look you want to show. Careful review saves time and money by avoiding reprints. Take your time to check every detail. This step ensures your business card looks perfect and clear.
Spell Check And Layout Review
Start by checking all text for spelling mistakes. Look at names, titles, addresses, and phone numbers. Even one wrong letter can confuse clients. Next, review the layout. Make sure text and images are well spaced. Nothing should be too close to the edges. Check alignment to keep the card balanced. A clean layout makes your card easy to read.
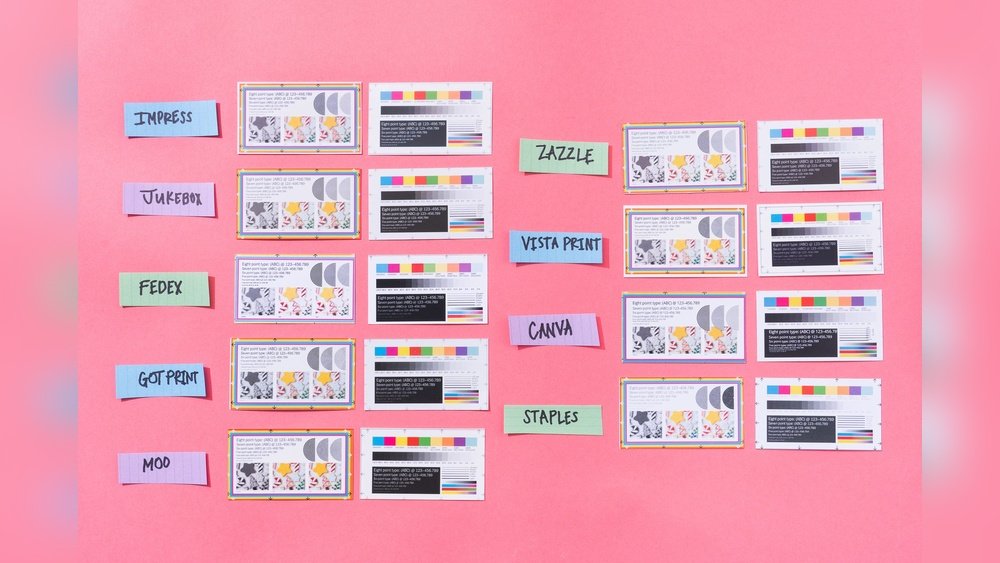
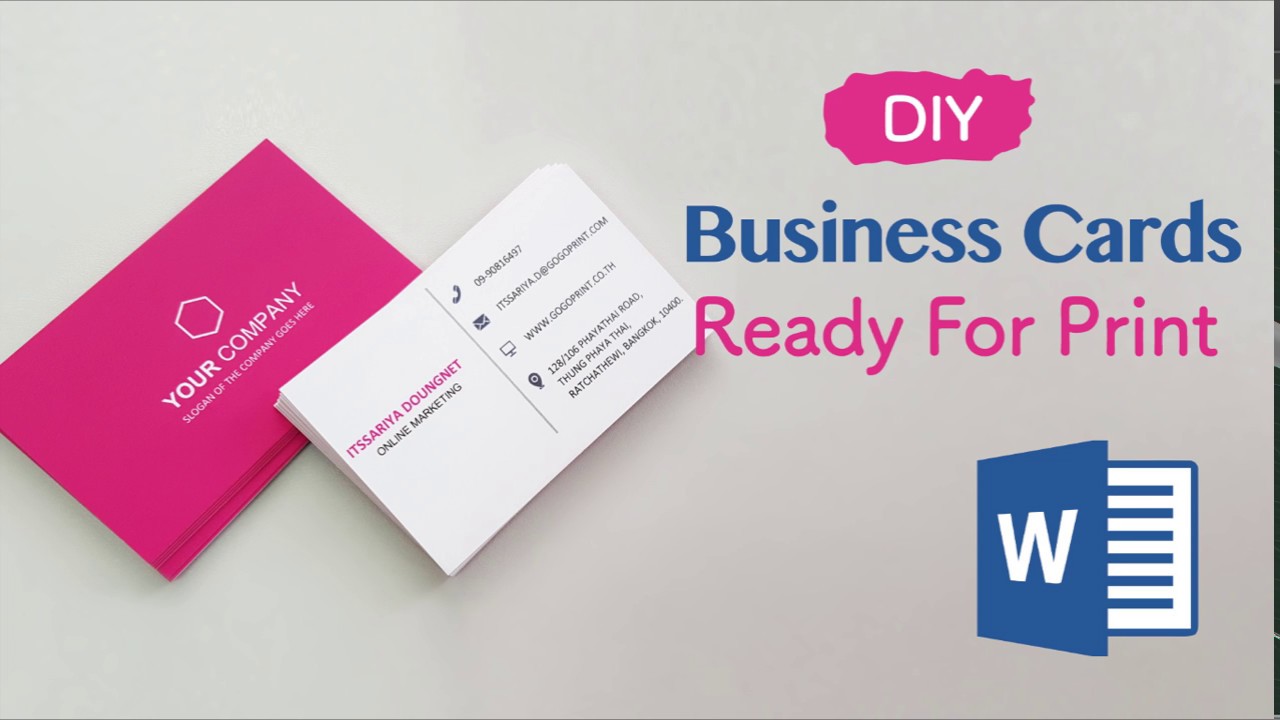
Test Prints
Print a test copy on your home printer. This helps spot color and size issues. Check if fonts are clear and not blurry. See how images look on paper, not just on screen. Compare the test print to your digital design. Adjust colors or margins if needed. Test prints show how the final card will appear. Fixing errors here avoids costly mistakes later.
Credit: www.youtube.com
Working With Printers
Working with printers is a key step in making your business card print ready. Clear communication ensures the final product looks exactly as you want. Understanding print details helps avoid mistakes and extra costs.
Communicating Specifications
Tell the printer the exact size of your business card. Standard sizes usually work best. Mention if your design has bleed areas. Bleed means your design goes beyond the card edges.
Specify the file type you provide. Most printers accept PDF or high-quality image files. Include color mode details. Printers use CMYK colors, not RGB. This avoids color differences.
Ask about resolution. A resolution of 300 dpi or higher is ideal. Low resolution causes blurry prints. Share any special instructions clearly. This helps the printer prepare your card perfectly.
Understanding Print Options
Choose the paper type carefully. Thick paper feels more professional. Matte, glossy, or textured finishes change the look and feel. Think about what suits your brand.
Decide on single or double-sided printing. Double-sided cards offer more space for information. Check if your printer offers spot UV or foil stamping. These add shine and texture for impact.
Find out about quantity and turnaround time. Printing in bulk usually lowers cost. Quick printing might cost more. Knowing these details helps plan your order better.
Frequently Asked Questions
What File Format Is Best For Print-ready Business Cards?
The best file formats for print-ready business cards are PDF, TIFF, or EPS. These formats preserve quality and support print settings like bleed and CMYK color profiles. Always check printer requirements before submission to ensure compatibility and optimal print results.
How Do I Set Bleed For Business Card Printing?
Set a 0. 125-inch bleed on all sides of your business card design. Bleed prevents white edges after trimming. Extend background colors and images beyond the trim line to maintain a clean, professional look once printed and cut.
What Resolution Should Business Card Images Have?
Images should have a minimum resolution of 300 DPI (dots per inch) for business card printing. This ensures sharp and clear prints without pixelation. Lower resolutions may result in blurry or fuzzy images on the final card.
Why Use Cmyk Color Mode For Business Cards?
CMYK color mode matches the colors used in professional printing. It ensures that colors on your screen closely resemble the printed version. Using RGB may cause color shifts, making your business card look different than expected.
Conclusion
Making your business card print ready takes a few simple steps. Check your design for clear text and good colors. Use the correct size and high resolution images. Save the file in the right format, like PDF. Double-check for any spelling or layout mistakes.
These small actions help your card look professional. A well-prepared card makes a strong first impression. Keep it clean and easy to read. Ready to print? Your card will represent you well.