Want to create professional-looking business cards without spending a fortune or waiting days for delivery? You’re in the right place.
Thank you for reading this post, don't forget to subscribe!Making business cards to print at home is easier than you think. Imagine handing out sharp, personalized cards that leave a lasting impression—right from your own printer. In this guide, you’ll discover simple steps and insider tips to design and print your own business cards that truly represent you and your brand.
Ready to stand out and make every connection count? Let’s get started.
Choosing Card Size
Choosing the right size for your business card is important. It affects how your card looks and feels. A good size fits well in wallets and cardholders. It also makes your information easy to read. You can pick a standard size or create a custom one. Both choices have their benefits.
Standard Dimensions
Most business cards use standard sizes. The common size is 3.5 by 2 inches. This size fits most wallets and card organizers. It looks professional and is easy to handle. Standard sizes work well for most designs. Printers and cutting tools often match these sizes. Using standard dimensions makes printing at home simpler and cleaner.
Custom Sizes
Custom sizes let you stand out from the crowd. You can choose a larger or smaller card. Square cards or rounded edges are popular options. Custom cards can reflect your brand style better. Keep in mind, unusual sizes may not fit all holders. Printing and cutting may require more care. Test your custom size on paper before printing many.
Selecting Paper Type
Selecting the right paper type is key for printing business cards at home. The paper affects the card’s look, feel, and durability. Choosing good paper helps your card stand out and last longer. Think about the weight and texture of the paper before printing. This choice impacts how your business card feels in hand and how it represents your brand.
Cardstock Options
Cardstock is thicker than normal paper. It gives your card strength and a professional feel. Common weights for business cards range from 80 lb to 110 lb. The higher the number, the thicker the cardstock. Thicker cardstock feels better and looks more premium. You can find cardstock in different colors and textures too. White cardstock is popular because it shows colors well.
Matte cardstock has no shine and feels smooth. Glossy cardstock has a shiny surface and makes colors pop. Choose cardstock that works well with your printer type. Laser printers handle thicker cardstock better than inkjets.
Finish Types
Finish changes the card’s surface look and feel. Matte finish is soft and non-reflective. It makes text easy to read and looks modern. Glossy finish is shiny and bright. It enhances colors and images but may cause glare. Satin finish sits between matte and glossy. It offers a slight shine and smooth touch.
Some cardstock comes with textured finishes like linen or felt. These add a unique feel but can be tricky to print on. Pick a finish that fits your brand style and printing method. The right finish makes your card look polished and professional.
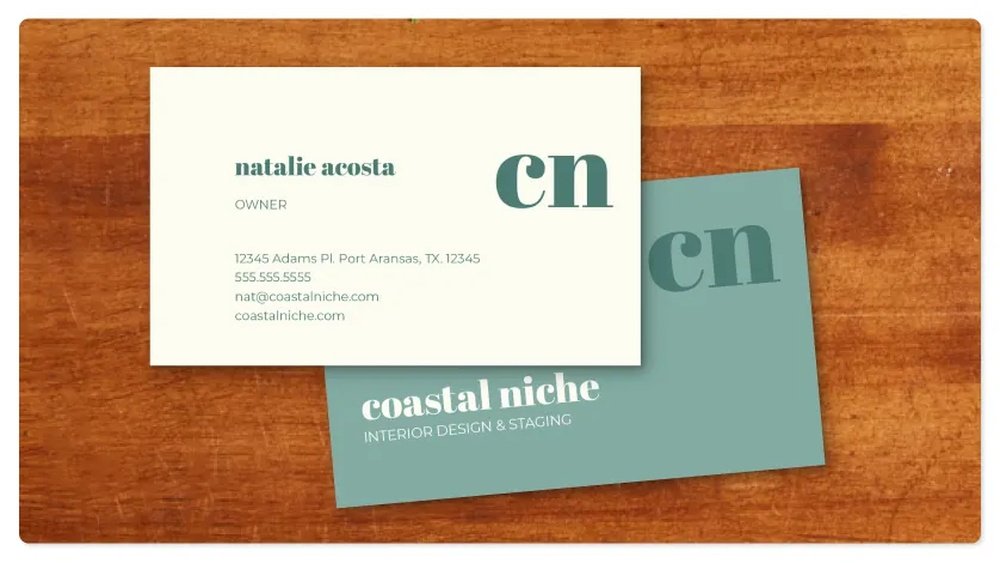
Designing Your Card
Designing your business card is a key step in making a strong impression. It shows who you are and what your business stands for. The design must be clear and neat. It should catch the eye but not be too busy. Every choice affects how people see your brand.
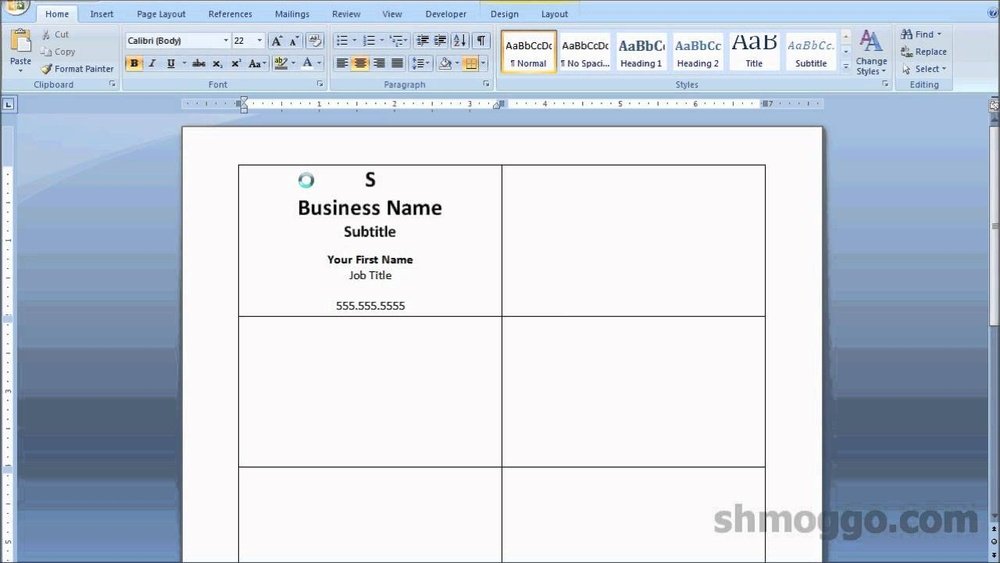
Using Design Software
Choose simple design software for easy use. Programs like Canva, Adobe Spark, or Microsoft Publisher work well. They offer templates sized for business cards. Drag and drop your text and images quickly. Adjust colors and fonts to fit your style. Save your design in high quality for printing.
Incorporating Branding Elements
Include your logo to make the card recognizable. Use your brand colors for a consistent look. Pick fonts that match your business style. Add contact details clearly and neatly. Keep plenty of space so the card doesn’t feel crowded. Branding helps people remember you and trust your business.
:max_bytes(150000):strip_icc()/GettyImages-185290004-5ad89fc4eb97de003770381a.jpg)
Credit: www.thebalancemoney.com
Setting Up For Print
Setting up your business cards for printing at home is key to getting clean, sharp results. Proper setup avoids wasted paper and blurry prints. It ensures your cards look professional and fit perfectly on each sheet.
Focus on the right printer settings and layout details. Small changes here make a big difference in quality.
Printer Settings
Select the highest print quality available on your printer. Choose settings like “photo” or “best” for sharp text and colors.
Pick the correct paper type, such as “cardstock” or “heavy paper.” This helps the printer use the right ink amount. Use a manual feed tray if possible. It handles thick paper better and reduces jams.
Bleed And Margins
Set a bleed area of at least 0.125 inches (3 mm) around your card edges. This prevents white borders after cutting. Keep important text and logos at least 0.25 inches (6 mm) inside the edges. This safe margin stops them from being cut off.
Use a template or grid to arrange cards with even margins. This keeps each card aligned and easy to cut.
Printing Tips
Printing business cards at home needs care and attention. Small mistakes can waste paper and ink. Follow simple printing tips to get clear, professional cards every time.
Test Prints
Always do a test print first. Use plain paper to check colors and alignment. This saves ink and avoids wasting card stock. Adjust settings if the text looks blurry or off-center. Test prints help catch mistakes early.
Handling Paper Jams
Paper jams can stop your printing quickly. Gently remove stuck paper to avoid damage. Check for torn pieces inside the printer. Keep paper edges smooth and clean before loading. Use the correct paper type for your printer. Regularly clean the printer rollers to prevent jams.
Credit: www.avery.com
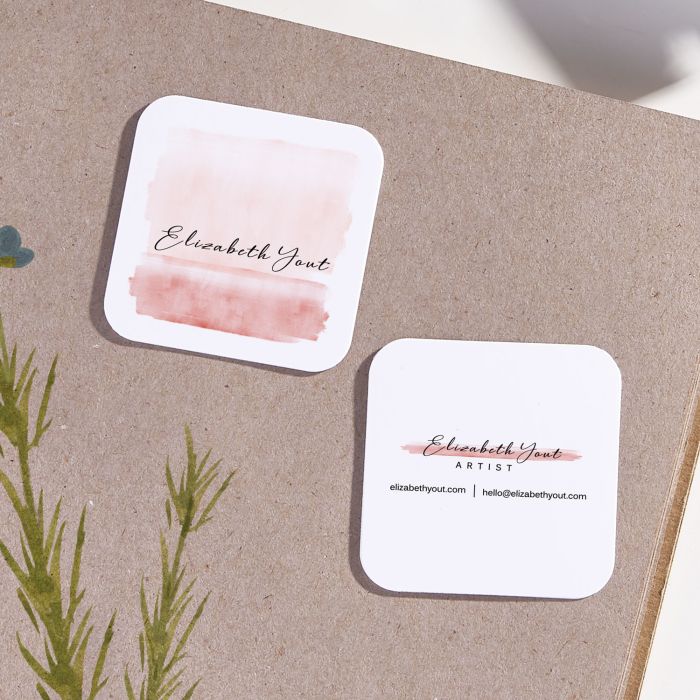
Cutting And Finishing
Cutting and finishing are key steps in making business cards at home. These steps give your cards a neat, professional look. Proper cutting ensures each card is the right size and shape. Finishing touches add style and make your card stand out.
Using A Paper Cutter
A paper cutter helps you cut cards straight and clean. Place your printed sheet on the cutter base. Align the cutting line with the blade. Press down firmly to slice through the paper. Repeat for all cards to get even edges. A paper cutter is safer and faster than scissors.
Rounding Corners
Rounded corners give your cards a smooth, finished look. Use a corner rounder tool to trim edges easily. Simply insert one corner and press the lever down. This small change can make your card feel more polished. Rounded corners also prevent paper from bending or tearing quickly.
Troubleshooting Common Issues
Troubleshooting common problems helps you print business cards at home with ease. Small issues can spoil your cards or waste paper. Knowing how to fix these problems saves time and money.
Two main problems appear often: color accuracy and alignment. Fixing these ensures your cards look professional and neat.
Color Accuracy
Colors may look different on your screen than on paper. This happens because screens use light, printers use ink. Adjust your monitor’s brightness to match printed colors better. Use printer settings for photo quality or high quality mode.
Check ink levels before printing. Low ink causes dull colors. Print a test page to see if colors match your design. Use good quality paper made for color printing. It helps colors stay bright and sharp.
Alignment Problems
Cards can print off-center or with cut-off text. This happens if the paper is not loaded correctly. Place paper firmly and straight in the tray. Use the template size that fits your printer and paper.
Print a test sheet on plain paper first. Check if everything lines up correctly. Adjust margins in your design software if needed. Avoid moving the paper during printing to keep alignment steady.

Credit: www.youtube.com
Frequently Asked Questions
How Do I Design Business Cards For Home Printing?
Use simple design software like Canva or Microsoft Word. Choose standard dimensions and high-resolution images. Keep text clear and readable. Save your design as PDF or PNG for best print quality.
What Paper Type Is Best For Home-printed Business Cards?
Use thick cardstock paper, ideally 200-300 gsm. Matte or glossy finishes work well depending on your style. Ensure your printer supports the chosen paper type for optimal results.
Can I Print Double-sided Business Cards At Home?
Yes, most home printers support double-sided printing. Use manual duplex settings or print one side, then flip the paper carefully. Test with scrap paper to align both sides perfectly.
How Do I Cut Business Cards Accurately At Home?
Use a precision paper cutter or a metal ruler with a craft knife. Cut slowly along marked lines for clean edges. Avoid scissors to maintain uniform size and professional appearance.
Conclusion
Making business cards at home saves time and money. You control the design and details easily. Use good paper and clear printing for best results. Keep your layout simple and readable. Test print before making many copies. This way, you avoid mistakes and waste.
Homemade cards show your personal touch and effort. Start with the tips shared here. Your next business card can be ready today. Simple steps lead to professional-looking results. Give it a try and see the difference.