Are you looking to add a personal touch to your Lego creations? Printing custom stickers for your Lego pieces can make your builds truly one of a kind.
Thank you for reading this post, don't forget to subscribe!Whether you want to create unique designs, labels, or decorations, this guide will show you exactly how to print stickers that fit perfectly on your Lego bricks. You don’t need fancy equipment or special skills—just a few simple steps and the right materials.
Keep reading, and you’ll discover easy tips that turn your ideas into colorful, eye-catching stickers your Lego sets will love.
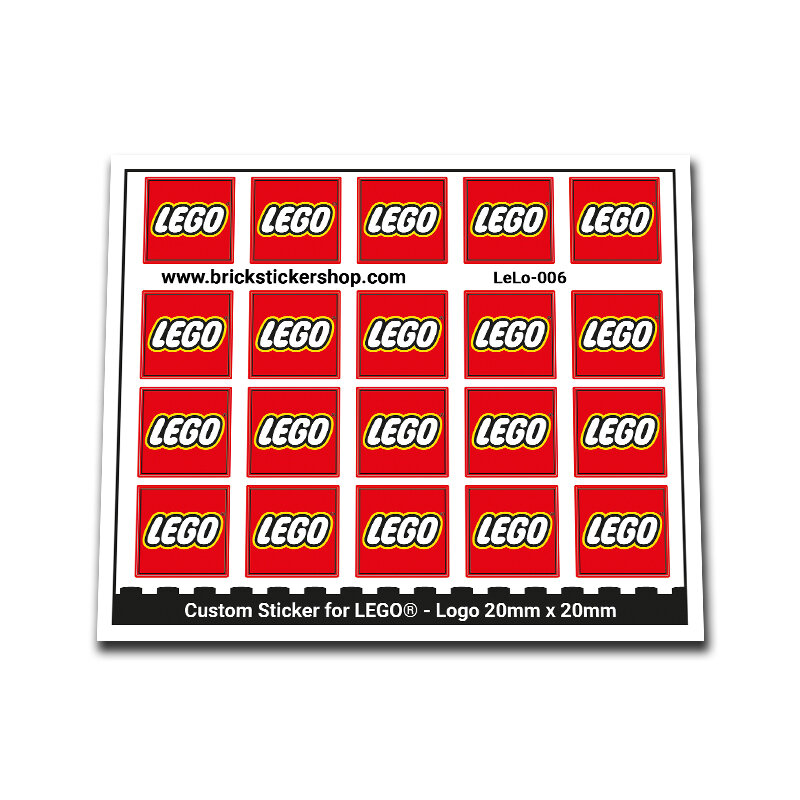
Credit: www.brickstickershop.com
Choosing Sticker Materials
Choosing the right materials for your custom Lego stickers affects their look and how long they last. The material must hold the print well and stick firmly to Lego bricks. Picking the best paper type and finish helps create stickers that look sharp and stay in place during play.
Types Of Printable Sticker Paper
There are several types of sticker paper to print your Lego designs. Matte paper gives a smooth, non-shiny surface. It reduces glare and shows colors clearly. Glossy paper has a shiny finish that makes colors pop. It looks bright but can reflect light.
Clear sticker paper lets the Lego color show behind the design. This works well for simple logos or small labels. Vinyl sticker paper is strong and flexible. It handles bending and water better than regular paper. Vinyl is ideal for stickers that need extra durability.
Durability And Finish Options
Durability matters for Lego stickers, especially for kids’ use. Look for waterproof or water-resistant papers to prevent smudging. Laminating your stickers adds a tough layer against scratches and moisture. It also enhances color depth and shine.
Choosing between matte and glossy finishes depends on style and protection. Matte hides fingerprints and looks subtle. Glossy finishes give a vibrant, polished effect. Both finishes can last long with good printing and care.
Designing Sticker Artwork
Designing sticker artwork for Lego pieces is a fun and creative process. The artwork must fit small areas perfectly. It should also be clear and colorful to stand out on the Lego blocks. Planning your design carefully helps make stickers that look great and last long.
Using Design Software
Design software helps create precise and neat sticker images. Programs like Adobe Illustrator or free tools like Inkscape work well. These let you draw shapes, add colors, and place text easily. You can also save your design in formats ready for printing. Simple tools like Canva can help beginners make basic designs quickly.
Size And Shape Considerations
Sticker size must match the Lego piece exactly. Measure the block’s surface before designing. Keep shapes simple to fit small spaces well. Avoid tiny details that can blur when printed. Rounded edges often look better on Lego pieces than sharp corners. Plan your design to fill the space without overcrowding it.
Preparing For Printing
Preparing for printing custom stickers for Lego requires careful steps. Proper preparation ensures clear, vibrant stickers that fit perfectly on the bricks. It starts with setting up the printer correctly and testing print quality. This helps avoid wasting materials and time.
Printer Settings And Calibration
Set your printer to the highest quality print mode. Use the correct paper type for sticker printing, such as glossy or matte sticker paper. Adjust the color settings to match the design colors closely. Calibrate the printer to align colors and avoid blurry prints. Regular calibration keeps the print sharp and colors balanced. Check the printer manual for specific calibration instructions.
Test Prints And Adjustments
Print a test sheet before the final run. Use plain paper first to save sticker sheets. Check the size and color accuracy of your test prints. Compare them to your original design carefully. Make small adjustments in the printer settings if colors look faded or off. Repeat test prints until the output matches your expectations. This step saves resources and ensures perfect stickers on the final print.
Printing Techniques
Printing custom stickers for Lego requires choosing the right printing technique. The quality of your stickers depends on the printer and materials you use. Understanding different printing methods helps you get clear and durable designs. Two main printer types are common for sticker printing: inkjet and laser. Each has unique features that affect your final product.
Inkjet Vs Laser Printers
Inkjet printers spray tiny droplets of ink onto the paper. They produce bright colors and smooth gradients. This makes them great for detailed and colorful Lego stickers. Inkjet printers work best with coated paper or vinyl for sharp results.
Laser printers use heat to fuse toner powder onto the paper. They create crisp lines and last longer without smudging. Laser prints resist water and fading better than inkjet prints. The colors may not be as vibrant as inkjet but still look clean and clear.
Inkjet printers are usually cheaper and easy to find. Laser printers cost more but save money on ink over time. Choosing depends on your budget and how many stickers you want to print.
Using Vinyl And Waterproof Materials
Vinyl is a popular choice for Lego stickers. It is strong, flexible, and easy to cut. Stickers made from vinyl stick well to Lego bricks and resist tearing. Vinyl sheets come in glossy or matte finishes for different looks.
Waterproof materials protect stickers from spills and weather. This is important if Lego sets get handled often. Laminating your stickers with a clear waterproof layer adds extra protection. It keeps colors bright and prevents peeling.
Using vinyl and waterproof options makes your Lego stickers last longer. They look great and stay stuck through play and cleaning. These materials improve the quality and durability of your custom designs.
Cutting And Finishing Stickers
Cutting and finishing stickers is a key step for custom Lego designs. Clean edges and smooth surfaces make stickers look professional. Proper cutting helps stickers fit Lego pieces perfectly. Finishing protects the print and extends sticker life. This section covers two ways to cut and finish your stickers.
Manual Cutting Methods
Manual cutting uses scissors or craft knives. Scissors work well for simple shapes and straight lines. Craft knives give more control for detailed cuts. Use a cutting mat to protect your workspace. Take your time to cut slowly and carefully. Sharp blades reduce tearing and jagged edges. Manual cutting is cost-effective and easy for small batches.
Using Cutting Machines
Cutting machines automate the cutting process. Machines like Cricut or Silhouette use software to cut designs. They handle complex shapes with precision and speed. You load your printed stickers onto the machine’s mat. The machine follows your design exactly. This method suits large batches or intricate sticker shapes. Cutting machines save time and create consistent results every time.
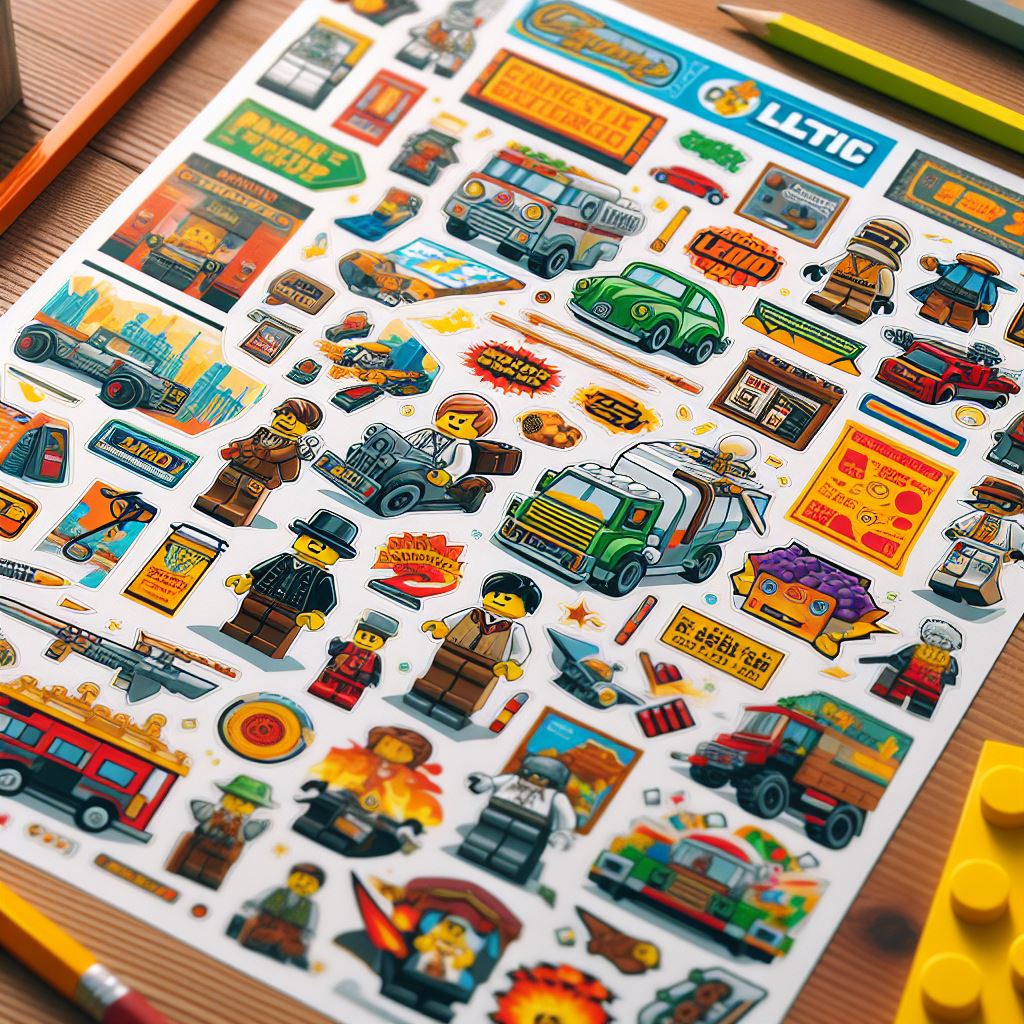
Credit: htbi-moc.com
Applying Stickers To Lego
Applying stickers to Lego bricks takes patience and care. Proper application helps stickers last longer and look better. Small details make a big difference in the final look.
Cleaning Surfaces
Start by cleaning the Lego pieces well. Use a soft cloth with a little water to wipe the surface. Avoid using strong chemicals that can damage the plastic. Make sure the surface is dry before putting on stickers. Dust and oils stop stickers from sticking well.
Positioning And Adhesion Tips
Place the sticker gently on the Lego piece first. Check the position before pressing it down fully. Use a fingernail or soft tool to press the sticker firmly. Smooth out air bubbles by pushing from the center out. Avoid touching the sticky side with your fingers. This keeps the sticker clean and sticky.
Maintaining Sticker Quality
Maintaining the quality of custom stickers for Lego is key to making your creations look great. Good care keeps stickers bright and prevents peeling or fading. Follow simple steps to protect your stickers for a long time.
Protective Coatings
Apply a clear protective coating to your stickers. It shields them from water, dirt, and scratches. Use spray sealants made for paper or vinyl stickers. Let the coating dry fully before using the stickers. This step helps stickers last longer and keeps colors sharp.
Storage And Handling
Store stickers in a cool, dry place away from sunlight. Sunlight can fade the colors and weaken glue. Keep stickers flat to avoid bends or creases. Handle stickers with clean, dry hands to prevent dirt and oils from sticking. Careful handling stops damage and keeps your stickers smooth.

Credit: www.youtube.com
Frequently Asked Questions
How Do I Design Custom Stickers For Lego Bricks?
Use graphic software like Adobe Illustrator or Canva to create sticker designs. Keep dimensions accurate to Lego brick sizes for a perfect fit.
What Materials Are Best For Printing Lego Stickers?
Vinyl sticker paper is ideal due to its durability and adhesive strength. It resists tearing and works well with inkjet or laser printers.
Can I Print Lego Stickers At Home?
Yes, you can print Lego stickers at home using a quality printer and vinyl sticker sheets. Ensure to use waterproof ink for longevity.
How Do I Apply Custom Stickers On Lego Bricks?
Clean the Lego surface before application. Carefully peel and place the sticker, smoothing out bubbles for a neat finish.
Conclusion
Creating custom stickers for Lego adds fun and personal touch. Choose the right paper and printer for best results. Cut carefully to match Lego shapes perfectly. Test your stickers on spare pieces first. Enjoy decorating your Lego sets with unique designs.
Keep practicing to improve your sticker skills. Small details make your Lego creations stand out. Custom stickers help show your creativity clearly. Start your sticker project today and have fun!