Are you looking to create professional business cards quickly and easily using Word? Printing business card size in Word might seem tricky, but it’s actually simpler than you think.
Thank you for reading this post, don't forget to subscribe!Imagine having your own custom cards ready in minutes, saving time and money. In this guide, you’ll discover step-by-step how to set up your document, design your card, and print it perfectly every time. Keep reading, and you’ll have the confidence to make business cards that leave a lasting impression.
Set Up Page Dimensions
Setting up the correct page size is key to printing business cards in Word. The standard size for business cards is 3.5 x 2 inches. Adjusting the page dimensions helps ensure your cards print clearly and fit on the paper. This step avoids cutting errors and wasted paper.
Start by customizing the page size to match business card dimensions. Then, adjust the margins so the cards are spaced evenly on the page. These settings let you create multiple cards on one sheet. Follow these steps to prepare your document for printing.
Choose Custom Page Size
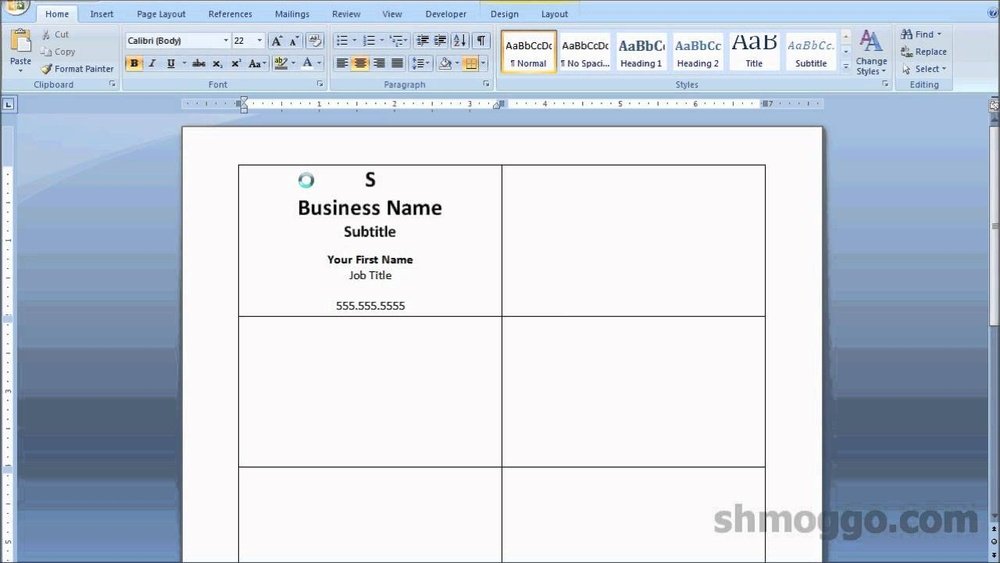
Open Word and go to the “Layout” tab. Click on “Size” and then select “More Paper Sizes” at the bottom. A new window will open for custom settings.
Set the width to 3.5 inches and the height to 2 inches. This matches the standard business card size. Click “OK” to apply the changes. Your document page now matches the size of one business card.
Adjust Margins For Cards
Next, click “Margins” under the “Layout” tab. Choose “Custom Margins” to open the settings window. Set all margins to 0.2 inches or less to maximize space. This keeps the card content inside the printable area.
Smaller margins allow you to fit multiple cards on one page. Make sure the margins are not too small to avoid cutting issues. Save these margin settings to prepare your layout for printing business cards.

Credit: www.youtube.com
Create Card Layout
Creating a business card layout in Word is simple and fun. It lets you design a card that fits your style and needs. This step focuses on building the card’s look before printing. You will add text and images to make the card clear and professional.
Insert Text Boxes
Text boxes let you place words anywhere on the card. Click “Insert” and choose “Text Box.” Draw the box where you want your name, job title, or contact details. You can move and resize it easily. Use a clear font and keep the text size readable. Align text to fit the card’s shape. Avoid crowding the box with too many words.
Add Images And Logos
Images and logos make your card stand out. Click “Insert” and select “Pictures” to add your logo. Resize the image so it fits well on the card. Keep it sharp and clear for good print quality. Place the logo near your name or contact info. Avoid covering important text. Use simple images that match your brand’s look.
Duplicate Cards On Page
Printing business card size in Word requires placing multiple cards on one page. This method saves paper and helps print many cards quickly. Duplicating cards on a page ensures each card is the right size and spaced evenly. Word does not have a direct business card template, but you can create your own layout easily.
Use Tables For Alignment
Tables help place cards neatly on the page. Create a table with rows and columns matching the number of cards. Set each cell size to the exact business card dimensions, usually 3.5 by 2 inches. This keeps all cards aligned and the same size. Turn off table borders before printing for a clean look. Tables also make it easy to adjust spacing between cards.
Copy And Paste Cards
Design one business card first. Then select the entire card content and copy it. Paste the copied card into other table cells to fill the page. This method duplicates the card without redrawing it each time. Make sure each pasted card fits well inside the cell. Check spacing and alignment before printing. This saves time and keeps the design consistent.
Configure Print Settings
Configuring print settings is a key step to print business cards correctly in Word. It ensures your cards look sharp and fit the paper perfectly. Proper settings avoid wasting paper and ink. Follow the steps below to set your printer for the best business card printout.
Select Paper Type
Choose the right paper type in your printer settings. Most business cards use thick, glossy, or matte cardstock. Setting the paper type helps the printer adjust ink flow. This prevents smudges and fading. Look for “Cardstock” or “Heavy Paper” in the options. If unsure, check your printer manual for recommended paper types.
Check Print Quality
Set the print quality to high or best for crisp text and images. Low-quality printing causes blurry or faded cards. High quality uses more ink but delivers better results. You can find this option in the printer preferences or properties. Test print one card first to check the clarity before printing all cards.
Test Print And Adjust
Test printing your business card design saves time and paper. It helps spot errors early. Also, it shows if the size fits your needs. Adjustments come easier with a test print. This step ensures your final cards look professional and correct.
Print Sample On Plain Paper
Print your business card on plain paper first. Use the same size settings you chose in Word. Check the card’s edges and text placement carefully. Hold the paper up to a real business card for size comparison. This simple step helps catch alignment and spacing issues before printing on costly card stock.
Make Size Corrections
Notice any size problems on your test print? Return to Word and adjust the page layout. Change the card’s width and height in small steps. Reprint the sample to see if the changes worked. Repeat until the card matches the correct dimensions perfectly. This process avoids wasted materials and ensures a neat final print.
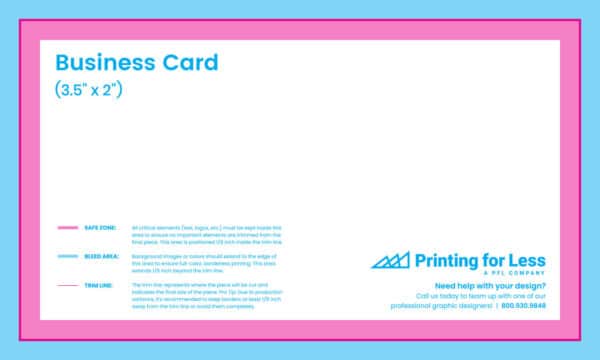
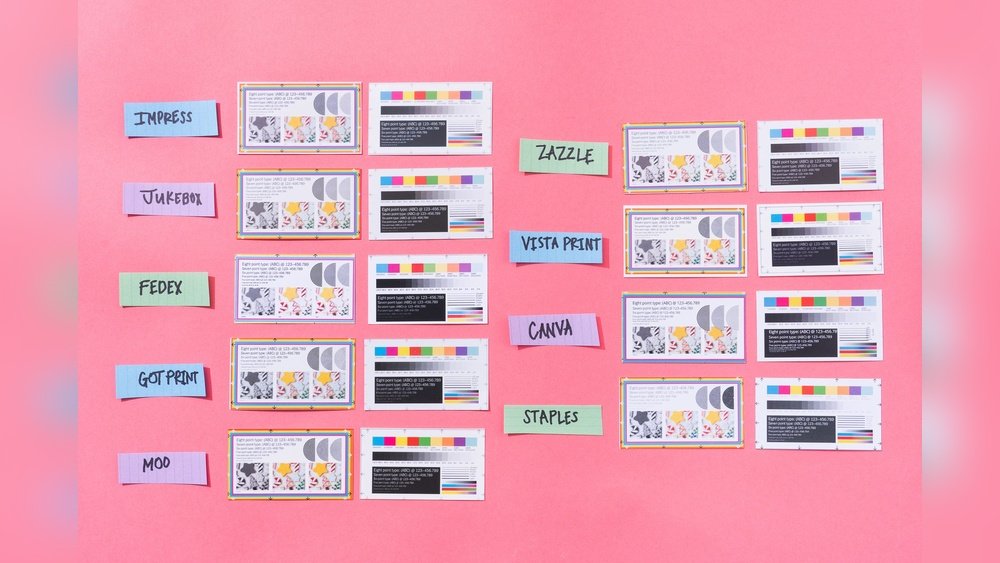
Credit: www.printingforless.com

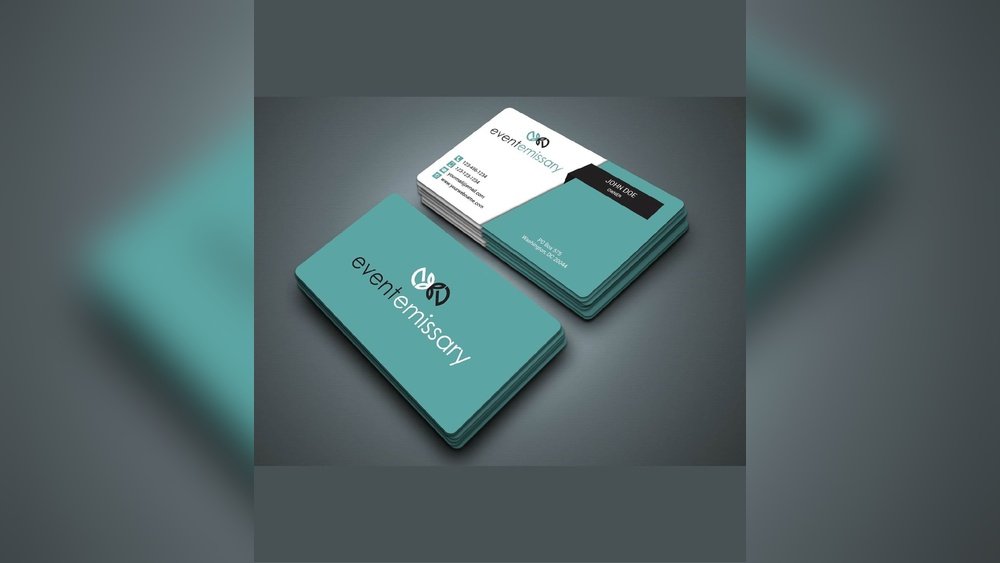
Credit: aura-print.com
Frequently Asked Questions
How Do I Set Business Card Size In Word?
Open Word, go to Layout > Size > More Paper Sizes. Set width to 3. 5 inches and height to 2 inches. Click OK to apply the custom business card size.
Can I Print Multiple Business Cards On One Page?
Yes, use the Labels feature under Mailings. Choose business card dimensions and layout. Word arranges multiple cards per sheet for easy printing.
What Paper Type Is Best For Business Cards In Word?
Use heavy cardstock or matte photo paper for durability. Choose 80-110 lb cardstock for professional, high-quality business cards when printing in Word.
How To Align Text Properly On Business Cards In Word?
Use tables or text boxes to control layout. Align text centrally or as desired. Use Word’s gridlines and rulers for precise positioning.
Conclusion
Printing business card size in Word is simple and quick. Follow the steps carefully for the best results. Check your settings before printing to avoid mistakes. Use good quality paper to make cards look professional. Practice a few times to get comfortable with the process.
Now, you can create and print business cards at home. Save time and money by doing it yourself. Your cards will look neat and ready to share. Try it today and see how easy it is!