Do you want to create stickers that truly stand out? Making your own printed stickers is easier than you think.
Thank you for reading this post, don't forget to subscribe!Whether you’re designing for fun, business, or personal projects, having the right steps can save you time and money. In this guide, you’ll discover simple techniques and insider tips to get vibrant, professional-looking stickers every time. Ready to turn your ideas into eye-catching stickers?
Keep reading, and you’ll learn exactly how to make stickers printed that grab attention and last long.
Choosing Sticker Materials
Choosing the right materials for your stickers is very important. It affects how your stickers look and how long they last. Different materials work better for different uses. Some stick well on smooth surfaces, while others are more durable for outdoor use. Understanding these materials helps you make better stickers for your needs.
Paper Vs Vinyl
Paper stickers are cheap and easy to print. They work well for indoor use or short-term projects. Paper feels smooth but can tear or fade quickly. Vinyl stickers cost more but last longer. They resist water, sunlight, and scratches. Vinyl is great for outdoor stickers or items that need to last.
Adhesive Types
There are many adhesives for stickers. Permanent adhesive sticks strongly and lasts a long time. It works well on smooth surfaces. Removable adhesive lets you peel off stickers without damage. Repositionable adhesive allows moving stickers before they stick fully. Choose an adhesive based on where and how you use your stickers.
Finish Options
Sticker finishes change how the sticker looks and feels. Glossy finish is shiny and bright. It makes colors pop and looks clean. Matte finish is smooth and dull. It reduces glare and looks more natural. Clear finish lets the background show through. It works well for logos or shapes with no border.
Designing Your Stickers
Designing your stickers is a key step in making printed stickers. The design decides how your stickers will look and feel. Good designs attract attention and make stickers more useful. Focus on clear, simple, and fun designs. This helps your stickers stand out and share your message well.
Start by choosing the right tools. Then, create your artwork carefully. Last, set the correct size and bleed to avoid cutting errors.
Selecting Software Tools
Pick software that matches your skills and needs. Programs like Adobe Illustrator or CorelDRAW work well for detailed designs. For beginners, free tools like Canva or Inkscape are easy to use. Choose software that can save files in high quality formats like PNG or PDF. This helps keep your design sharp when printed.
Creating Artwork
Start with a clean background. Use bright colors that match your theme. Add text only if it is easy to read. Use simple shapes and icons to make your design clear. Avoid too many details that can blur in print. Keep your design balanced and centered for a neat look.
Setting Dimensions And Bleeds
Set your sticker size based on its use. Common sizes include circles, squares, or custom shapes. Add bleed space around edges—usually 1/8 inch—to avoid white borders. Bleeds let the printer cut without cutting your design. Check your printer’s guidelines for exact bleed size. Correct dimensions and bleed ensure a professional print finish.
Printing Methods
Choosing the right printing method is key to making quality stickers. Different methods suit different needs and budgets. Some work well for small projects, while others fit larger runs. Understanding these options helps you pick the best one.
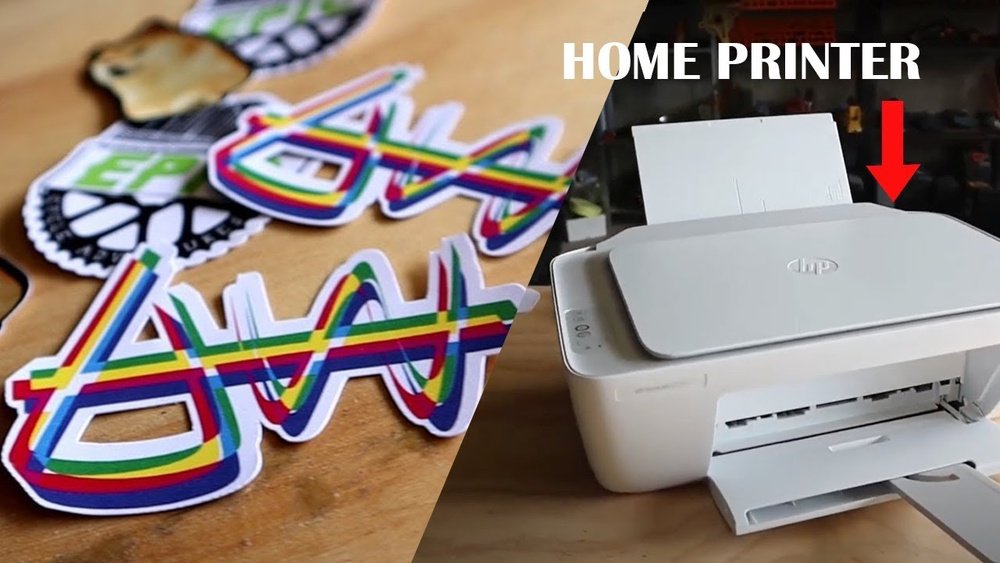
Inkjet Printing
Inkjet printers spray tiny droplets of ink directly onto paper or vinyl. This method works well for vibrant colors and detailed images. It is affordable and easy to use at home. Inkjet prints may need a special paper to avoid smudging. Best for small batches and prototypes.
Laser Printing
Laser printers use heat to bond toner to the sticker surface. This creates sharp, clear images with good color accuracy. Laser printing is faster than inkjet and produces smudge-proof results. It works best on coated paper or label sheets. A good choice for durable, professional-looking stickers.
Professional Printing Services
Professional services offer high-quality prints with many material choices. They use advanced machines like offset and digital presses. These printers handle large orders quickly and offer custom finishes. Services often include die-cutting and waterproof options. Ideal for businesses or anyone needing bulk stickers with a polished look.

Credit: betckey.com
Cutting Techniques
Cutting stickers is a key step in making them look great. Proper cutting techniques help your stickers stand out and last longer. Different methods suit different tools and skill levels. Choose the right technique for your project size and detail.
Using A Craft Cutter
A craft cutter is a small machine that cuts designs precisely. It uses a blade to follow digital patterns. This tool is perfect for detailed and complex shapes. It works well for large batches of stickers. The cutter saves time and gives clean edges every time.
Hand Cutting With Scissors
Scissors are the simplest way to cut stickers. This method fits small projects or quick jobs. Use sharp scissors to avoid jagged edges. Cut slowly and carefully around the design. Hand cutting gives you full control over the shape.
Die Cutting Options
Die cutting uses a shaped blade to cut many stickers at once. This method is common in commercial sticker making. It creates uniform shapes quickly and cleanly. Die cutting works best for simple, repeated designs. It requires special equipment or services but saves effort for large runs.
Applying Finishes
Applying finishes to printed stickers improves their look and strength. Finishes protect stickers from scratches, water, and fading. They also change the surface feel and shine. Choosing the right finish helps stickers last longer and stand out.
Laminating For Durability
Laminating adds a clear plastic layer over stickers. This layer guards against water, dirt, and wear. Laminated stickers resist fading from sunlight. They feel smooth and strong. Laminating works well for outdoor or frequently handled stickers. It keeps colors bright and edges safe.
Adding Gloss Or Matte Coatings
Gloss coatings make stickers shiny and bright. They highlight colors and give a polished look. Glossy stickers catch the eye easily. Matte coatings create a soft, non-shiny finish. Matte reduces glare and looks more subtle. Both coatings add a thin protective layer. Choose gloss for vibrant designs and matte for a calm style.

Credit: trueimagetech.com
Packaging And Storing Stickers
Packaging and storing stickers properly keeps them safe and fresh. Good packaging protects stickers from dirt, moisture, and damage. Proper storage keeps stickers flat and ready to use. These steps help stickers last longer and look better.
Protective Packaging
Use clear plastic sleeves or small envelopes for each sticker sheet. This shields stickers from dust and moisture. Avoid folding or bending stickers inside the packaging. Use cardboard backing to keep stickers flat and prevent curling. Seal packages tightly with tape or stickers to stop dirt from entering.
Storage Tips
Store stickers in a cool, dry place away from sunlight. Heat and light can cause colors to fade and glue to weaken. Keep stickers flat in a drawer or box to avoid wrinkles. Use dividers or folders to organize different sticker designs. Check stored stickers regularly to ensure they stay in good shape.

Credit: www.youtube.com
Frequently Asked Questions
What Materials Do I Need To Print Stickers At Home?
To print stickers at home, you need sticker paper, a printer, and design software. Choose waterproof sticker paper for durability. A color inkjet or laser printer works best. Design your sticker digitally, then print and cut them precisely for quality results.
How Do I Design Stickers For Printing?
Use graphic design software like Adobe Illustrator or Canva. Create a high-resolution image with clear outlines. Set the correct dimensions for your sticker size. Save the file in a print-friendly format like PNG or PDF. This ensures vibrant colors and sharp prints.
Can I Use Any Printer To Print Stickers?
Not all printers are ideal for stickers. Inkjet printers are popular for vibrant colors. Laser printers offer durability but require compatible sticker paper. Always check your printer’s settings and paper type for the best print quality.
How Do I Cut Printed Stickers Accurately?
Use a precision cutter, scissors, or a craft cutting machine. Cut along the sticker’s outline carefully to avoid damage. For multiple stickers, a cutting machine saves time and ensures uniformity. Always handle with care to maintain sticker edges.
Conclusion
Making printed stickers is simple with the right steps. Choose your design and print on sticker paper. Cut the shapes carefully for a neat look. Use a printer that handles colors well. Let the ink dry before peeling. Stick your new stickers anywhere you like.
Practice a few times to get better results. Enjoy creating custom stickers that show your style. This process fits well for fun or business projects. Try it today and see how easy it can be!