
Looking for a simple way to personalize your things with vibrant designs? Ink transfer stickers might be exactly what you need.
Thank you for reading this post, don't forget to subscribe!They let you add sharp, colorful images onto almost any surface quickly and easily. Imagine turning plain items into eye-catching pieces that stand out—without spending hours or needing special skills. If you want to learn how ink transfer stickers work, where to use them, and how they can transform your projects, keep reading.
Your next creative breakthrough is just a few steps away.
Choosing Ink Transfer Stickers
Choosing the right ink transfer sticker is important for your project’s success. Different stickers have unique features that suit various surfaces and uses. Picking the best type ensures your design looks clear and lasts longer.
Consider the surface you want to apply the sticker on. Some stickers work better on fabric, while others stick well on plastic or metal. Knowing this helps avoid peeling or fading later.
Types Of Ink Transfer Stickers
Ink transfer stickers come in many forms. Heat transfer stickers are popular for clothing and fabric. They use heat to stick the ink onto the surface firmly. Water slide decals work well for smooth surfaces like glass or ceramics. You soak them in water, slide the design onto the surface, and let it dry. Vinyl transfer stickers offer strong adhesion on metal, plastic, and wood. They are durable and resist scratches and water.
Material Compatibility
Not all ink transfer stickers suit every material. Cotton and polyester fabrics react differently to heat transfer stickers. Smooth surfaces like glass need water slide decals for a clean finish. Rough or porous materials may require vinyl stickers for better grip. Always check the sticker’s instructions to match it with your project’s surface. This step prevents damage and ensures your design stays vibrant.
Credit: www.theprintink.in
Preparing Your Design
Preparing your design is the first step to create great ink transfer stickers. A clear and well-made design ensures the final sticker looks sharp and vibrant. Taking time to set up your artwork correctly saves effort later.
Design Software Tips
Choose simple and easy-to-use design software. Programs like Canva, Adobe Illustrator, or even basic tools like MS Paint work well. Start with a blank canvas matching your sticker size. Use clear shapes and bold colors. Avoid too many details that may blur in printing. Save your work often to prevent data loss.
Image Resolution And Size
High resolution is key for sharp stickers. Use at least 300 dpi (dots per inch) for your image. Low resolution causes pixelation and blurry prints. Set your image size to match the sticker size exactly. Larger images with low dpi can lose quality. Check your design on screen at 100% zoom to see details clearly.
Printing Techniques
Printing techniques play a key role in making ink transfer stickers look sharp and last long. Choosing the right method affects color, detail, and durability. Small changes in settings or ink can change the final result a lot.
Understanding how to set up your printer and which inks to use helps produce clear, vibrant stickers every time. Let’s explore these important aspects.
Printer Settings
Set your printer to the highest quality mode. This boosts the sharpness and color accuracy of your stickers. Use the correct paper type setting for transfer paper. It prevents smudging and fading.
Adjust the print resolution to at least 300 dpi. Lower resolution makes images blurry. Turn off any color correction features in the printer software. This keeps your colors true to the original design.
Ink Types
Use pigment-based inks for better water and fade resistance. They stick well to transfer paper and hold color longer. Dye-based inks are brighter but may fade faster.
Check if your ink is compatible with your printer model. Some inks work better with specific printers. Quality ink prevents bleeding and keeps edges sharp after transfer.
Credit: quapri.in
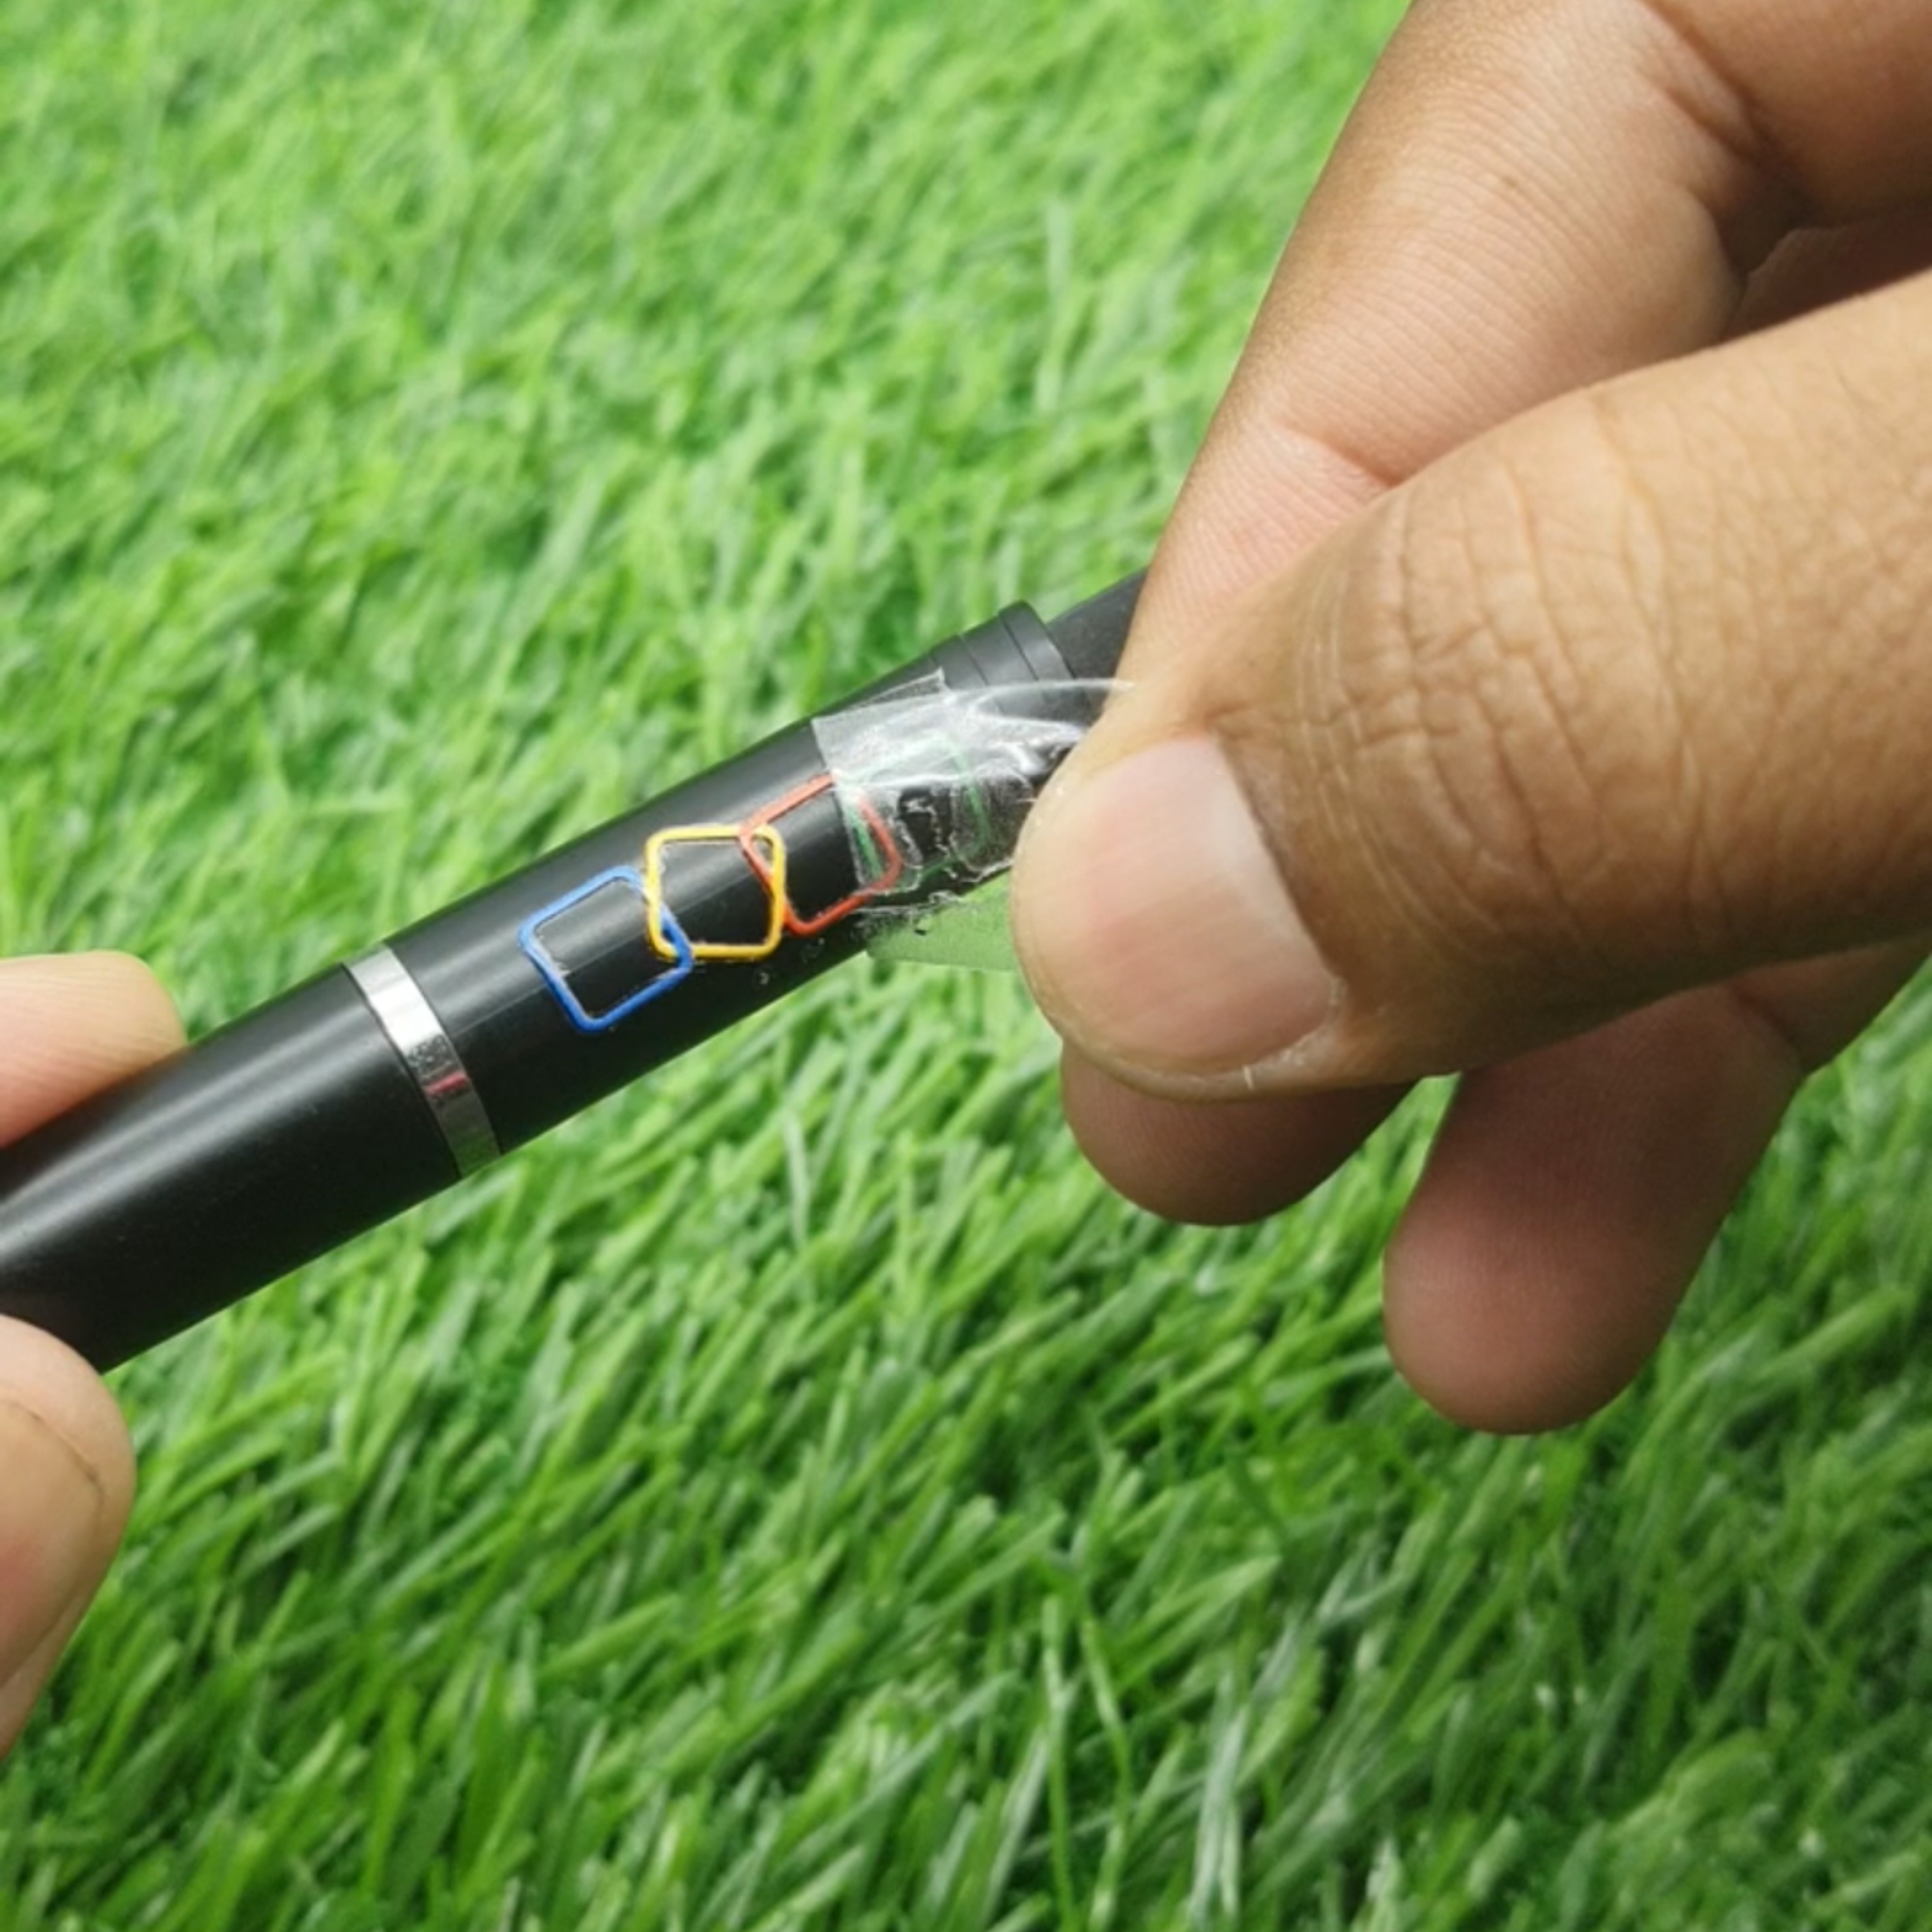
Cutting And Weeding
Cutting and weeding are key steps in using ink transfer stickers. These steps help reveal the final design clearly. Cutting shapes the sticker precisely. Weeding removes extra parts. Both need care and the right tools. Proper handling keeps your design neat and sharp.
Tools For Precision
Use a sharp craft knife or cutting machine for clean cuts. Scissors work for simple shapes. A cutting mat protects surfaces and helps control cuts. Choose tools that fit your hand well. This improves accuracy and comfort. Good tools reduce mistakes and wasted material.
Removing Excess Material
Weeding means pulling out unwanted sticker parts. Use a weeding hook or tweezers for small details. Work slowly and gently to avoid tearing. Bright light helps see tiny pieces. Clear away all extra parts to make your design stand out. Careful weeding leads to a professional look.
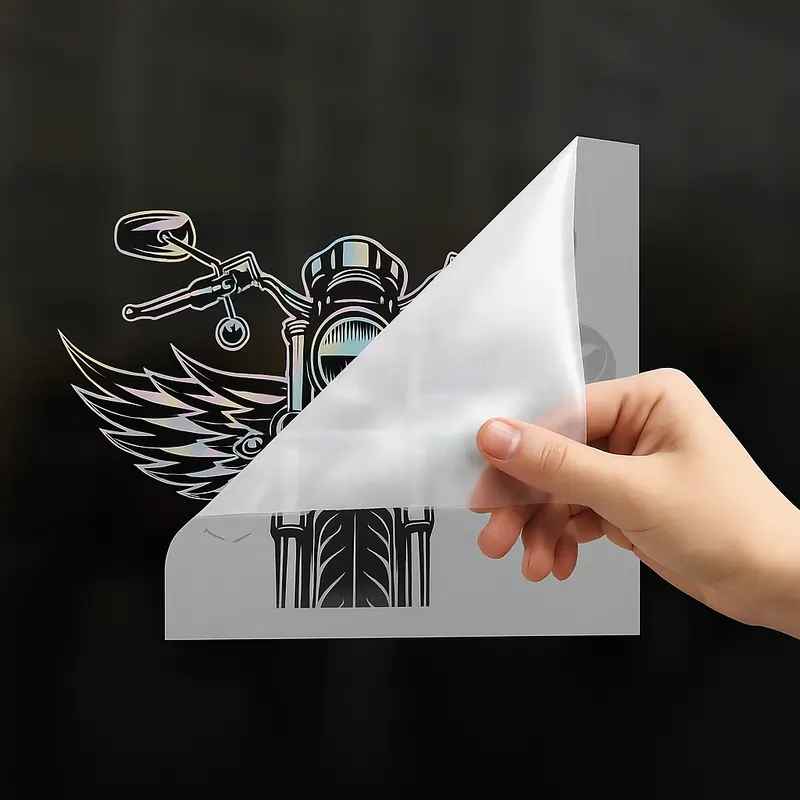
Application Methods
Ink transfer stickers offer a simple way to decorate many items. Applying them correctly ensures a clean, lasting look. Each step matters, from preparing the surface to the actual transfer. Follow clear methods for best results. This section covers easy ways to apply ink transfer stickers.
Surface Preparation
Clean the surface well before applying the sticker. Use a cloth with rubbing alcohol or mild soap. Remove all dust, dirt, and oils. Let the surface dry completely. A smooth, dry surface helps the sticker stick better. Avoid rough or wet surfaces for best adhesion.
Transfer Techniques
Place the sticker carefully on the surface. Use a flat tool like a credit card to press it down. Apply firm, even pressure across the whole sticker. Slowly peel off the backing paper at a sharp angle. If the sticker lifts, press it down again. Work slowly to avoid bubbles or wrinkles.
Troubleshooting Common Issues
Troubleshooting common issues with ink transfer stickers helps keep your designs sharp. These problems often affect the look and durability of your stickers. Knowing how to fix them saves time and money. Below are some common issues and easy ways to solve them.
Peeling Problems
Peeling happens when the sticker does not stick well to the surface. Dirt or oil can stop the adhesive from working properly. Clean the surface with rubbing alcohol before applying the sticker. Press firmly to remove air bubbles. Avoid touching the sticker edges after applying. Let the sticker dry fully before handling.
Color Fading
Color fading makes your sticker look old and dull. Sunlight and water cause most fading. Use stickers with UV protection to slow down fading. Keep stickers indoors or away from direct sunlight. Avoid washing the sticker area with harsh chemicals. Gently wipe with a soft cloth to clean.
Creative Project Ideas
Ink transfer stickers open many doors for creative projects. They allow easy and clear designs on many surfaces. This makes crafting fun and accessible. Many people use them to add a personal touch to their items.
These stickers work well on wood, glass, fabric, and metal. They help bring ideas to life with minimal effort. Below are some simple and creative project ideas to try.
Home Decor
Ink transfer stickers can change the look of your home. Use them to decorate plain jars, vases, or flower pots. Add patterns or quotes to walls or wooden signs. Create unique coasters or picture frames that match your style. These small touches make your space feel cozy and special.
Personalized Gifts
Custom gifts feel more thoughtful and unique. Ink transfer stickers help you design custom mugs, phone cases, or notebooks. Add names, dates, or special messages to make gifts memorable. Perfect for birthdays, holidays, or any occasion. Personal gifts show care without much effort.

Credit: www.packshack.in
Frequently Asked Questions
What Are Ink Transfer Stickers Used For?
Ink transfer stickers help move printed designs onto surfaces. They are popular for crafts, decorations, and custom projects.
How Do Ink Transfer Stickers Work?
The ink design is printed on special paper. When pressed, the ink transfers from paper to the surface.
Can Ink Transfer Stickers Stick On Fabric?
Yes, many ink transfer stickers work well on fabric. They are ideal for customizing clothes and bags.
Are Ink Transfer Stickers Waterproof?
Some ink transfer stickers offer water resistance. Check product details before using on items exposed to water.
How To Apply Ink Transfer Stickers Correctly?
Clean the surface, place the sticker, then press firmly. Heat or pressure often helps the ink stick better.
Can Ink Transfer Stickers Be Removed Easily?
Most can be peeled off but may leave residue. Use warm water or mild cleaner to remove leftover glue.
Are Ink Transfer Stickers Safe For Kids?
Ink transfer stickers are generally safe but supervise young children. Avoid stickers with toxic inks or small parts.
Conclusion
Ink transfer stickers offer a simple way to add designs to many surfaces. They stick well and show clear, bright colors. You can use them on paper, wood, plastic, and more. These stickers save time and effort compared to painting or drawing.
They also let you create detailed images easily. Trying ink transfer stickers can bring creativity to your projects. They work well for crafts, gifts, and decoration. Choose the right type for your needs. Enjoy making unique and colorful items with ink transfer stickers.