Want to create unique, eye-catching stickers without spending a lot of money? Printing custom stickers at home is easier than you think.
Thank you for reading this post, don't forget to subscribe!You can turn your ideas into colorful, personalized designs that stick to anything you choose. Imagine adding a personal touch to your laptop, water bottle, or gifts with stickers you made yourself. You’ll discover simple steps and insider tips to print high-quality custom stickers right from your own printer.
Ready to start crafting stickers that stand out? Keep reading and see how quickly you can bring your creativity to life.
Choosing Sticker Materials
Choosing the right materials is key to printing custom stickers at home. The material affects how your stickers look and last. Different projects need different types of sticker paper. Some materials work better for indoor use, others for outdoor. Picking the right finish and waterproofing also matters. These choices help your stickers stay bright and stick well.
Types Of Sticker Paper
Sticker paper comes in many types. The most common are white paper, clear vinyl, and glossy photo paper. White paper is cheap and easy to print on. Clear vinyl lets your design show through the background. Glossy photo paper gives bright colors and sharp details. Choose the type based on your design and use.
Waterproof Vs Non-waterproof
Waterproof sticker paper resists water and smudges. It works well for outdoor stickers or items that get wet. Non-waterproof paper is cheaper but may fade or peel with moisture. Use non-waterproof for indoor stickers, like labels or crafts. Decide where your stickers will be used to pick the right kind.
Matte Or Glossy Finish
Matte finish has no shine and feels smooth. It reduces glare and looks subtle. Glossy finish shines and makes colors pop. It looks bright and catches the eye. Choose matte for a soft, natural look. Pick glossy if you want a bold, shiny sticker.
Designing Your Stickers
Designing your stickers is the first step to making unique, custom prints at home. This part helps you control how your stickers look before printing. You can create fun shapes, colors, and images that fit your style or brand. A good design makes your stickers stand out and look professional.
Focus on clear, simple designs that are easy to cut and peel. Keep your colors bright and shapes bold. This makes your stickers attractive and easy to use.
Using Design Software
Use design software to create your sticker images. Programs like Canva, Adobe Illustrator, or free tools like Inkscape work well. These tools let you add text, shapes, and colors easily. You can also use templates made for stickers. Save your design as a PNG or PDF file for best quality.
Setting The Correct Dimensions
Measure the size you want for your stickers before designing. Common sizes are 2×2 inches or 3×3 inches. Set your design canvas to these exact dimensions in your software. This helps your stickers print at the right size. Check your printer settings to match these measurements too.
Incorporating Cut Lines
Add cut lines around your sticker design. These lines show where to cut or peel the sticker. Use a thin, solid line in a color that stands out, like red or blue. Keep the lines outside the design area. This prevents cutting into the image. Cut lines help you get clean, precise edges on your stickers.
Preparing Your Printer
Preparing your printer is the first step to print clear and vibrant custom stickers. Proper setup ensures the best print quality and saves ink and paper. Checking your printer type, ink, and settings helps avoid common printing problems. Follow these tips to get your printer ready for sticker printing.
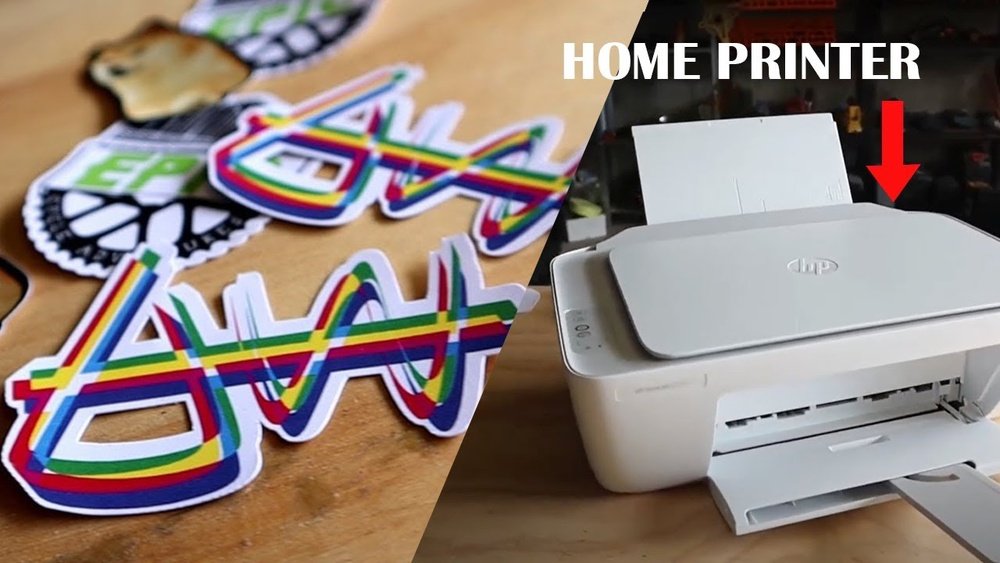
Printer Types For Stickers
Inkjet printers work well for stickers with bright colors and fine details. They handle glossy and matte sticker papers easily. Laser printers print faster but may not show colors as vividly. For home use, inkjet printers offer better quality for custom stickers.
Ink Selection And Maintenance
Use original or high-quality ink cartridges for sharp colors. Cheap ink can fade or clog your printer nozzles. Check ink levels before printing to avoid streaks or missing colors. Clean the print heads regularly to keep prints clear and crisp.
Printer Settings For Best Quality
Set your printer to the highest print quality or photo mode. Choose the correct paper type, like “photo paper” or “glossy paper,” for sticker sheets. Adjust color settings to vivid or bright to enhance sticker colors. Use the right paper size and orientation for your sticker design.

Credit: www.youtube.com
Printing Process
Printing custom stickers at home is a fun and simple process. It lets you create unique designs on your own. The printing process includes preparing your printer and paper, doing test prints, and avoiding common mistakes. Follow these steps for clear, bright stickers that last long.
Loading Sticker Paper
Start by choosing the right sticker paper for your printer. Most printers work well with inkjet or laser sticker sheets. Place the paper in the printer tray with the printable side facing down or up, depending on your printer model. Check your printer manual if unsure. Adjust the paper guides so the sheet stays straight. This prevents paper jams and misprints.
Test Printing Tips
Run a test print on regular paper first. This helps you see if the design fits the size and looks good. Check colors and alignment carefully. Adjust printer settings for best quality. Use the “photo” or “best” print mode for sharper images. Avoid printing on sticker paper until the test print is perfect.
Avoiding Smudges And Errors
Let the ink dry completely before touching the stickers. Handle sheets gently to prevent smudging. Use high-quality ink that dries fast. Avoid touching the printed side with wet or oily fingers. Clean your printer heads regularly to stop streaks or missing spots. Print in a low-humidity room to reduce paper warping.
Cutting And Finishing
Cutting and finishing are key steps in making custom stickers at home. These steps help your stickers look neat and last longer. Proper cutting makes the design clear. Finishing protects the sticker from damage. Let’s explore easy ways to cut and finish your stickers.
Using Scissors Vs Cutting Machines
Scissors are simple and cheap. They work well for basic shapes and small batches. Scissors need steady hands for clean edges. Cutting machines offer precision and speed. They cut complex shapes easily. Machines are great for many stickers. Choose scissors for quick jobs. Pick cutting machines for professional results.
Laminating For Durability
Laminating adds a protective layer on stickers. It stops water, dirt, and scratches. You can use clear adhesive sheets or a laminating machine. Stickers become stronger and last longer. Laminate before cutting for better edges. Laminating keeps colors bright and sharp. It is a simple step for tough stickers.
Peeling And Storing Stickers
Peel stickers slowly to avoid damage. Start from a corner and pull gently. Store stickers on a flat surface. Use a plastic folder or envelope. Keep stickers away from heat and moisture. Proper storage keeps them sticky and fresh. Organize by size or design for easy use.
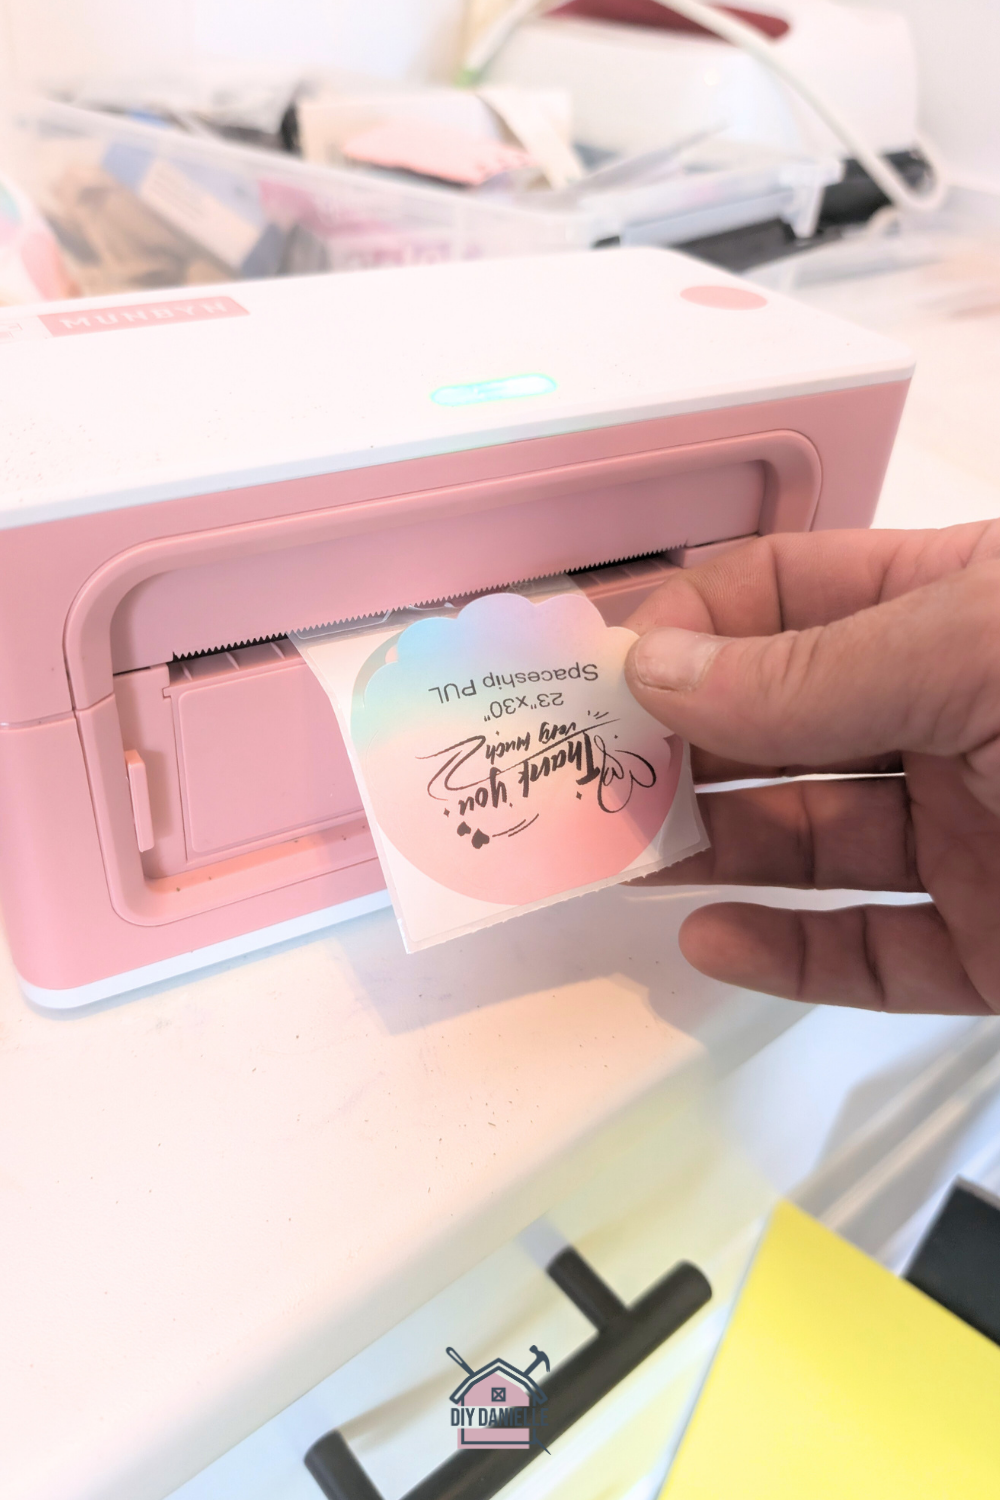
Credit: diydanielle.com
Troubleshooting Common Issues
Printing custom stickers at home can be fun and rewarding. Sometimes, small problems can stop your printing process. These common issues can make your stickers look bad or waste paper. Knowing how to fix them saves time and money. Here are simple ways to solve usual printing troubles.
Ink Smearing Solutions
Ink smears when the paper is too wet or the ink is not dry. Use sticker paper made for inkjet or laser printers. Let the printed sheet dry for at least 10 minutes before touching it. Avoid using too much ink in the printer settings. Print in a draft mode for faster drying. Handle the paper gently after printing.
Paper Jams And Wrinkles
Paper jams happen when the paper is bent or too thick. Use smooth sticker paper and load it correctly in the tray. Check the printer rollers for dust or dirt and clean them carefully. Avoid overfilling the paper tray. Make sure the paper is flat and not curled. If a jam occurs, remove the paper slowly to avoid wrinkles.
Color Accuracy Problems
Colors may look different on screen and on paper. Calibrate your monitor and printer for better color matching. Use the printer’s color management tools in the settings. Choose high-quality sticker paper designed for your printer type. Replace old or low-quality ink cartridges. Print a color test sheet before the final print to check colors.
Credit: www.hp.com
Frequently Asked Questions
How Do I Choose The Best Paper For Custom Stickers?
Select waterproof or vinyl sticker paper for durability. Matte or glossy finishes depend on your design preference. Ensure compatibility with your printer type, inkjet or laser, for optimal print quality and lasting results.
What Printer Settings Are Ideal For Sticker Printing?
Use high-resolution settings for crisp images. Choose the correct paper type in printer preferences. Set color management to accurate or natural mode to maintain true colors on stickers.
Can I Use Regular Ink For Printing Stickers At Home?
Regular inkjet ink works but may smudge or fade. For longer-lasting stickers, use pigment-based or waterproof inks. These inks resist water and sunlight, enhancing sticker durability.
How Do I Cut Custom Stickers Precisely At Home?
Use a craft knife or precision scissors for detailed shapes. A cutting mat helps protect surfaces. For straight edges, consider a paper trimmer or a ruler with a sharp blade.
Conclusion
Printing custom stickers at home is simple and fun. Choose the right paper and printer for best results. Design your stickers with clear images and bright colors. Cut carefully to keep the shapes neat. Practice a few times to improve your skills.
You can make stickers for gifts, labels, or decoration. Save money and enjoy creative control. Start small, and see how much you can create. Printing stickers yourself brings great satisfaction. Try it today and enjoy your unique designs.