
Are you looking to create professional business cards without spending a fortune? Printing your own business cards in Word is easier than you think.
With just a few simple steps, you can design and print cards that make a strong impression. Imagine handing out cards that look polished and personal, all made by you. Keep reading to discover how you can quickly turn your ideas into stunning business cards using Word—no special skills needed!

Credit: www.youtube.com
Setting Up Your Document
Setting up your document correctly is key to printing business cards in Word. It ensures your cards look professional and fit perfectly on the paper. Taking time to adjust templates, layout, and margins saves you from mistakes later. Follow these steps to prepare your document right.
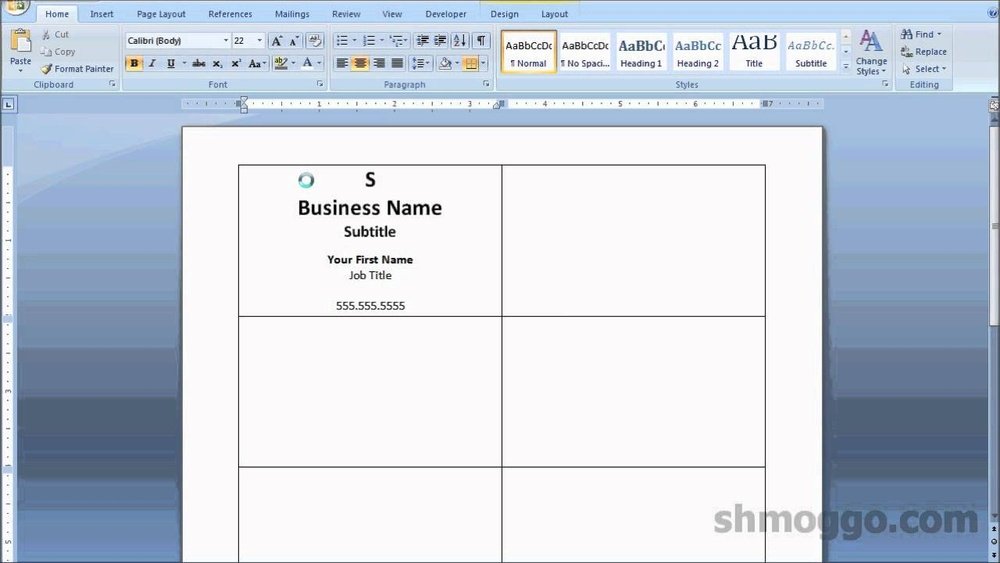
Choosing The Right Template
Start by opening Word and searching for business card templates. Pick one that matches your style and size needs. Templates come with pre-set dimensions and design elements. This saves time and keeps your card neat. You can also customize colors and fonts easily.
Adjusting Page Layout
Set your page size to match your business card dimensions. Common size is 3.5 x 2 inches. Use the “Layout” tab to select “Size” and enter custom measurements. Choose portrait or landscape orientation based on your design. Proper layout helps cards print correctly on sheets.
Setting Margins And Guides
Margins create space around your card content. Set them small but enough to avoid cutting text. Use the “Margins” option in the layout menu to adjust. Add guides or gridlines for precise placement. This helps keep logos and text inside safe zones. Proper margins prevent important details from being trimmed.
Designing Your Business Card
Designing your business card in Word is simple and creative. You can make a card that shows your style and shares your details clearly. Focus on clear text, good images, and nice colors. This helps your card stand out and look professional. Follow these steps to design a great card.
Adding Text And Contact Details
Start by typing your name and job title. Add your phone number, email, and website. Keep the text short and easy to read. Use bullet points or separate lines for each detail. Align the text neatly to keep the card tidy. Avoid overcrowding the space with too many words.
Inserting Logos And Images
Logos make your card look trustworthy and unique. Insert your logo by clicking “Insert” then “Pictures.” Choose a clear, high-quality image file. Resize the logo to fit the card without covering text. Place it in a corner or top area for balance. Avoid using too many images to keep the design clean.
Choosing Fonts And Colors
Pick simple fonts that are easy to read. Use one or two fonts to keep the design consistent. Choose font sizes that highlight important details like your name. Use colors that match your brand or style. Make sure text colors contrast well with the background. Avoid bright colors that strain the eyes.
Formatting And Aligning Elements
Formatting and aligning elements in Word is key to a professional business card. Proper layout makes your card clear and attractive. You want text and images to look neat and balanced. This helps readers find important details fast. Poor alignment can make the card look messy and hard to read.
Word offers easy tools to format and align your business card. Using tables helps keep everything in place. Aligning text and graphics improves the overall design. Consistent spacing between elements ensures a polished look. Let’s explore these steps for better business card design.
Using Tables For Layout
Create a table to organize your card’s sections. Tables hold text and images in separate cells. This keeps your content from moving around. Set the table size to match your card dimensions. Remove borders for a clean, invisible grid. Tables make it simple to add logos, names, and contacts in neat rows and columns.
Aligning Text And Graphics
Align text to the left, center, or right as needed. Center important details like your name or logo. Use the alignment buttons in Word’s toolbar for quick changes. Place graphics carefully to avoid overlapping text. Use the “Wrap Text” option to move images freely. Proper alignment gives a balanced and easy-to-read design.
Ensuring Consistent Spacing
Keep equal space between text, images, and edges. Use Word’s ruler or gridlines to measure gaps. Avoid crowding elements close together. White space helps the card look clean and professional. Consistent spacing improves readability and visual appeal. It also makes your business card look well-crafted and neat.

Credit: aura-print.com
Preparing For Print
Preparing your business card for print is a key step to get great results. This stage ensures your card looks professional and sharp. Taking time to prepare helps avoid wasting paper and ink. Follow these simple steps to get ready before printing your business cards in Word.
Selecting Paper Type
Choose the right paper for your business card. Thick, sturdy paper works best. Look for cardstock with a weight of 200 to 300 gsm. Matte or glossy finishes affect the card’s look and feel. Matte offers a smooth, non-shiny surface. Glossy adds shine and bright colors. Pick a paper that fits your style and printer type.
Setting Print Options
Open the print menu in Word and check your settings. Select the correct printer for cardstock. Set the paper size to match your business card, usually 3.5 x 2 inches. Choose “Landscape” or “Portrait” orientation based on your design. Adjust print quality to “Best” for clear text and images. Set multiple cards per page if printing several at once.
Previewing The Print Layout
Always preview your business card before printing. This step shows how cards will appear on the paper. Check alignment, margins, and spacing between cards. Make sure no text or images are cut off. Preview helps catch errors early. Fix any issues in Word before printing to save supplies and time.
Printing Multiple Cards
Printing multiple business cards on one sheet saves paper and time. You can print several cards aligned neatly on a single page. This method is helpful when you want many copies of the same card. It also reduces waste and makes cutting easier.
Duplicating Cards On A Page
Start by creating one business card in Word. Use the “Insert” tab to add shapes or text boxes. Design your card with the right size, usually 3.5 x 2 inches. After finishing the design, copy and paste the card multiple times on the page.
Arrange the cards in rows and columns to fit the page layout. Use Word’s grid or ruler tools to align cards evenly. Check margins to avoid cutting off any design parts. This way, you can print 8 or more cards per page.
Using Mail Merge For Variations
Mail Merge lets you print cards with different names or details. Prepare a list of names and info in Excel or Word. Connect this list to your card template in Word. Each card will show unique information from your list.
This process saves time if you print cards for many people. It works well for teams or businesses with many employees. Use Mail Merge to keep the design consistent but change the text easily.
Cutting And Finishing Tips
Use a sharp paper cutter for straight, clean edges. Cut along the lines between the cards carefully. Avoid scissors to keep edges even and professional. You can also use a ruler and craft knife for detailed cuts.
Use cardstock for sturdy cards that feel professional. Consider matte or glossy finishes based on your style. Stack cards and press them to keep edges aligned. This makes your business cards look neat and polished.
Troubleshooting Common Issues
Printing business cards in Word can be simple but may cause some problems. These issues can stop your cards from looking right. Understanding common problems helps fix them fast. This saves time and paper. Below are ways to solve frequent printing troubles.
Dealing With Alignment Problems
Cards that print off-center look unprofessional. Check your margins in Word. Use the “Print Preview” to see card placement. Adjust margins slightly to center your design. Use a ruler or gridlines to help align text and images. Print on plain paper first to test alignment. Keep the paper size setting correct for your card stock.
Fixing Color And Resolution Errors
Colors may appear dull or wrong after printing. Use high-quality images with at least 300 DPI resolution. Set your printer to the best quality or photo mode. Avoid low ink levels; they cause faded prints. Calibrate your monitor and printer colors to match. Select the correct paper type in printer settings for better color output.
Handling Printer Compatibility
Not all printers work well with business card paper. Check if your printer supports thick or small card stock. Use a manual feed tray if available. Update your printer driver from the manufacturer’s website. Choose the correct paper size and type in printer settings. Test print on plain paper to avoid wasting cards.

Credit: www.wps.com
Frequently Asked Questions
How Do I Set Up Business Card Size In Word?
To set up business card size, go to Layout > Size > More Paper Sizes. Enter 3. 5 x 2 inches for standard cards. Adjust margins to fit your design perfectly.
Can I Use Word Templates For Business Cards?
Yes, Word offers pre-designed business card templates. Go to File > New and search “Business Cards. ” Choose a template and customize text and images easily.
How To Print Multiple Business Cards On One Sheet?
Use the business card template grid to print multiple cards on one sheet. This saves paper and ensures uniform spacing for cutting after printing.
What Paper Type Is Best For Printing Business Cards In Word?
Use thick cardstock paper, preferably 80-110 lb weight. Matte or glossy finishes enhance appearance. Avoid regular printer paper for professional results.
Conclusion
Printing business cards in Word is simple and quick. You only need to follow a few easy steps. Customize your design, add your details, and set the right paper size. Check the layout before printing to avoid mistakes. Use good quality paper for the best result.
This method saves time and money for small businesses. Keep your cards neat and clear to make a strong impression. Now, you can create professional business cards at home or office with confidence.


