Want to add a personal touch to your belongings or gifts? Making your own sticker labels is easier than you think.
Thank you for reading this post, don't forget to subscribe!Imagine creating designs that truly reflect your style and purpose, without spending a lot of money. You’ll discover simple steps to design and print your own stickers right at home. By the end, you’ll have the confidence to make labels that stand out and make a lasting impression.
Ready to start? Let’s dive in!
Materials Needed
Making your own sticker labels starts with gathering the right materials. Choosing the correct supplies ensures your stickers look great and last long. This section covers the basics you need to begin your project with confidence.
Types Of Sticker Paper
Sticker paper comes in many varieties. Matte paper has a smooth, non-shiny finish. Glossy paper gives a bright, shiny look. Clear sticker paper lets the background show through your design. Waterproof paper protects stickers from water and smudges. Pick the type that fits your project needs.
Essential Tools
You need some simple tools for sticker making. A good printer is essential for sharp images. Scissors or a craft knife help cut out shapes. A ruler keeps edges straight. A cutting mat protects your work surface. Tape or a scraper tool smooths out bubbles when applying stickers.
Design Software Options
Design software helps create your sticker art. Free tools like Canva and GIMP offer easy-to-use features. Adobe Illustrator and Photoshop provide more control and options. Choose software that matches your skill level. Simple programs work well for beginners. Advanced tools suit detailed designs.

Credit: www.canva.com
Designing Your Stickers
Designing your stickers is a fun and creative step in making your own sticker labels. It helps your stickers stand out and show your style. Good design makes your labels clear and attractive. Focus on simple, bold ideas that catch the eye quickly. Keep your audience in mind while designing.
Choosing The Right Dimensions
Start by picking the size for your stickers. Sizes vary depending on use, like small labels or big decals. Measure the space where stickers will go to avoid wrong sizes. Use standard sizes to save time and costs. Remember, too big or too small can make your design less clear.
Creating Eye-catching Designs
Use bright colors and simple shapes for strong visuals. Balance your design with space and elements to avoid clutter. Choose colors that match your brand or theme. Contrast between background and images helps stickers stand out. Keep designs easy to understand at a quick glance.
Adding Text And Graphics
Pick clear, readable fonts for any text on your stickers. Use bold or simple fonts to keep text visible. Add graphics that relate to your message or brand. Avoid too many details that make your sticker confusing. Position text and images well for a balanced look.
Printing Techniques
Printing your own sticker labels can be fun and rewarding. Choosing the right printing technique helps your stickers look sharp and last longer. This section explains important printing tips for clear, vibrant sticker labels.
Understanding printer settings, types of printers, and fixing common problems improves your final product. Follow these steps to get the best results every time you print your sticker labels.
Printer Settings For Best Quality
Set your printer to the highest quality mode for sharp images. Choose “photo” or “best” print quality in the printer menu. Use the right paper type setting for sticker paper. This helps ink or toner stick properly. Avoid draft or fast modes as they lower print quality. Check color settings to keep colors bright and true.
Using Inkjet Vs Laser Printers
Inkjet printers offer bright colors and smooth gradients. They work well for detailed images and photos. Use inkjet for glossy or coated sticker paper. Laser printers print faster and produce sharp text. They use toner that resists smudging and water better. Choose laser if you want durability and crisp lines. Consider your sticker design and paper type when picking a printer.
Troubleshooting Common Issues
Print smudges? Let ink dry fully before handling stickers. Paper jams can happen with thick sticker sheets; feed paper slowly. Colors look dull? Clean your printer heads or replace cartridges. Lines or streaks mean the printer needs cleaning or new ink. Test print on plain paper to check settings. Fix these issues early to save sticker sheets and get great prints.
Cutting And Finishing
Cutting and finishing are key steps in making sticker labels. They help your stickers look neat and last longer. Proper cutting shapes your stickers perfectly. Finishing protects the design and adds shine or matte effects. Both steps improve the quality of your homemade stickers.
Manual Cutting Methods
Manual cutting uses scissors or craft knives. It works well for simple shapes like squares or circles. Take your time for clean edges. Use a ruler or stencil for straight lines. A cutting mat protects your work surface. Manual cutting is cheap and requires little equipment.
Using Cutting Machines
Cutting machines make precise and complex shapes easily. Machines like Cricut or Silhouette are popular choices. Load your design file into the machine software. The machine cuts around the design automatically. This method saves time and improves accuracy. It is ideal for large batches of stickers.
Sealing And Protecting Stickers
Sealing shields stickers from water, dirt, and fading. Use clear laminate sheets or spray sealants. Apply evenly for full coverage without bubbles. Let the sealant dry completely before use. Sealing extends sticker life and keeps colors bright. It also adds a professional finish to your labels.
Applying Your Stickers
Applying your stickers correctly helps them look great and last longer. Simple steps can make a big difference in how well your stickers stick and stay neat. Clean surfaces and careful placement matter a lot for good results.
Surface Preparation Tips
Start by cleaning the surface where you will place the sticker. Use a cloth with rubbing alcohol or mild soap and water. Make sure the surface is dry before applying the sticker. Avoid dusty or oily areas. Smooth surfaces like glass, plastic, or metal work best. Rough surfaces can make stickers peel quickly.
Ensuring Long-lasting Adhesion
Press the sticker firmly from the center outwards. This helps remove air bubbles and ensures good contact. Use a plastic card to smooth the edges. Avoid touching the sticky side of the label. Keep the sticker away from water and heat for 24 hours after applying. This helps the glue set well and stay strong.
Creative Uses For Sticker Labels
Use sticker labels to organize your home or office. Label jars, boxes, or folders for easy finding. Decorate notebooks, laptops, or phone cases with fun designs. Stickers also work well for gifts and party favors. Personalize items with names or special messages. The possibilities are endless and fun to explore.

Credit: www.amazon.com
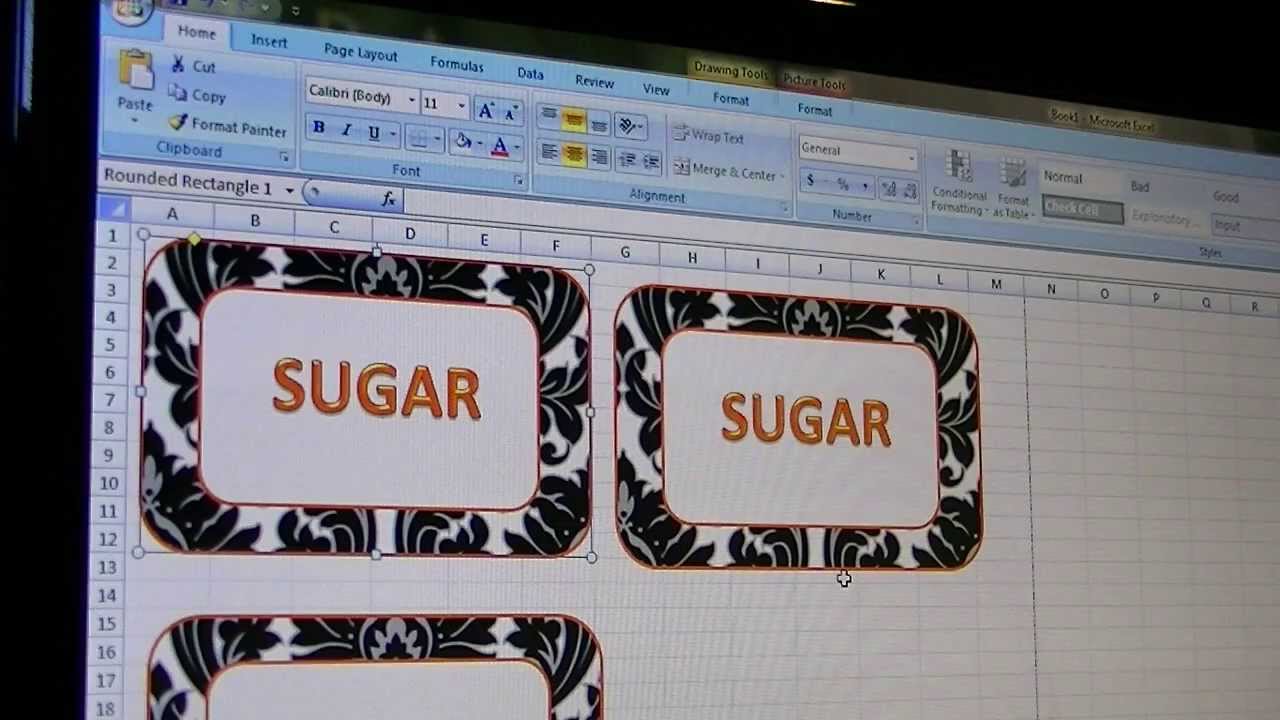
Credit: www.youtube.com
Frequently Asked Questions
How Do I Choose The Best Paper For Sticker Labels?
Select waterproof or glossy adhesive paper for durability and vibrant colors. Matte paper works well for a subtle look. Always check printer compatibility to avoid smudging or fading.
What Tools Are Needed To Make Sticker Labels At Home?
Basic tools include adhesive paper, a printer, scissors or a cutting machine, and design software. Optional tools like laminators enhance durability and appearance.
Can I Use Regular Inkjet Printers For Sticker Labels?
Yes, inkjet printers work well with compatible sticker paper. Use waterproof ink or laminate stickers to prevent smearing and maintain quality over time.
How Do I Design Custom Sticker Labels Effectively?
Use graphic design software with templates. Keep text clear and images high resolution. Choose colors that contrast well for readability and visual appeal.
Conclusion
Making your own sticker labels is simple and fun. You need just a few materials and some creativity. Design your labels with clear text and bright colors. Cut them carefully to get neat edges. Use your stickers to organize, decorate, or personalize items.
This small project saves money and lets you express yourself. Try different shapes and sizes to fit your needs. Enjoy the process and the unique stickers you create. Keep practicing to improve your skills each time. Your custom labels will stand out and add a personal touch.
Give it a try today!