Do you want to add a personal touch to your laptop, water bottle, or even your business products? Making custom stickers is easier than you think, and it lets you express your unique style or brand.
Thank you for reading this post, don't forget to subscribe!Imagine having stickers that show exactly what you love or what your business stands for. You’ll learn simple, step-by-step ways to create your own custom stickers that look professional and stand out. Keep reading, and by the end, you’ll be ready to make stickers that grab attention and make your things truly yours.
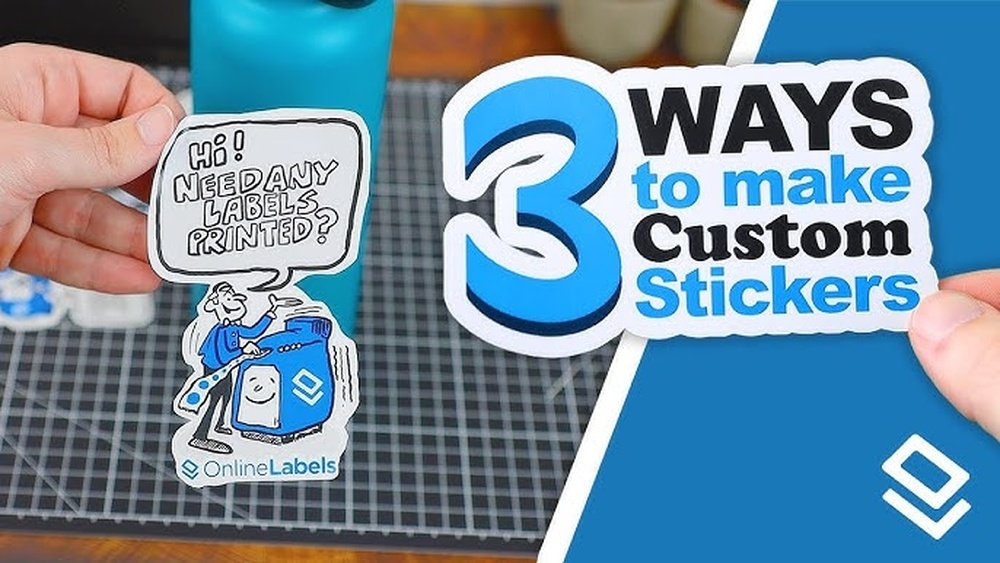
Credit: www.stickeryou.com
Choosing Sticker Materials
Choosing the right materials is key to making great custom stickers. The material affects how your stickers look, feel, and last. It also impacts where you can use them and how they handle wear and tear.
Different materials offer different benefits. Some are best for indoor use. Others work well outdoors and resist water. Picking the best material helps your design stand out and stay strong.
Types Of Sticker Paper
Sticker paper comes in many types. Matte paper has a smooth, non-shiny finish. It works well for simple designs and writing. Glossy paper has a shiny surface that makes colors bright. It is perfect for vibrant images.
Clear sticker paper is almost invisible when applied. It lets the surface underneath show through. This type is great for logos and small decals. Each paper type suits different projects and styles.
Vinyl Vs. Paper Stickers
Vinyl stickers are tough and flexible. They resist water and sunlight. Vinyl is good for outdoor use. It lasts longer than paper stickers. Paper stickers feel lighter and thinner. They cost less and are easy to print on. Paper stickers work well for short-term use or indoor projects.
Vinyl is better if you want durable stickers. Paper suits quick, low-cost jobs. Choose based on your sticker’s purpose.
Waterproof Options
Waterproof stickers keep their look even in wet conditions. Vinyl stickers are often waterproof. You can also find waterproof paper stickers with special coatings. These coatings stop water from ruining the design.
Waterproof stickers are good for bottles, cars, and outdoor gear. They stay strong without peeling or fading. This makes them useful for many uses.

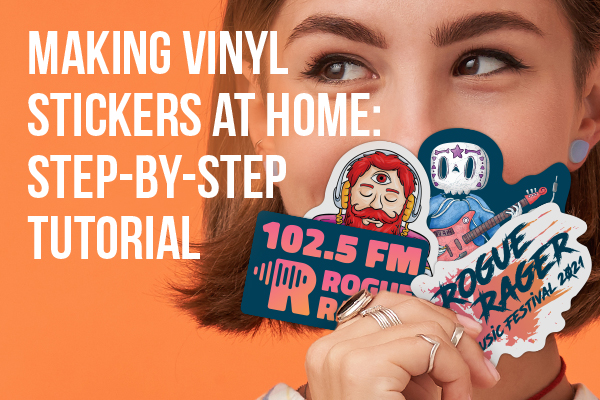
Credit: teckwrapcraft.com
Designing Your Stickers
Designing your stickers is the first step to creating something unique. Good design draws attention and makes your stickers stand out. It also shows your style and message clearly.
Focus on simple shapes and clear colors. Avoid too many details that can be hard to print. Think about the sticker’s size and where it will be placed.
Selecting Design Software
Choose software that fits your skill level and needs. Programs like Adobe Illustrator offer many tools for detailed designs. Free options like Canva or Inkscape work well for beginners. Make sure the software supports high-resolution images. This keeps your stickers sharp and clear after printing.
Creating Original Artwork
Draw your own designs to make stickers truly original. Use a tablet or paper and scan your drawings. Keep your lines clean and colors bright. Simple shapes and bold lines work best. Original art adds personality and uniqueness to your stickers.
Using Templates And Graphics
Templates help save time and guide your design. Many websites offer free or paid sticker templates. Use these to get the right size and shape. Add your text, colors, and images on top. Clipart and icons can enhance your design but keep them simple. Avoid overcrowding your sticker with too many elements.
Printing Techniques
Choosing the right printing technique is key to making custom stickers. It affects the look, feel, and durability of your stickers. Understanding different methods helps you pick what fits your needs and budget. This section covers common printing techniques used for custom stickers.
Home Printer Settings
Use high-quality ink for vibrant colors. Select the best print mode like “photo” or “high quality.” Choose the correct paper type, usually glossy or matte sticker sheets. Set the printer to the highest resolution. Avoid using draft mode; it lowers print quality. Let the ink dry fully before peeling the stickers.
Professional Printing Services
Professional printers use advanced machines for sharp details. They offer various materials like vinyl, clear, or waterproof stickers. Bulk orders often cost less per sticker. They provide cutting options like die-cut or kiss-cut. Choose a trusted service with good reviews. Upload your design in the required format to get the best results.
Print Quality Tips
Use high-resolution images for crisp prints. Keep colors simple and bold for better visibility. Avoid using very small text or fine lines. Test print on regular paper before printing on sticker sheets. Trim stickers carefully to avoid rough edges. Store stickers in a cool, dry place to keep colors bright.
Cutting And Finishing
Cutting and finishing are key steps in making custom stickers. They give your stickers a clean look and make them last longer. Careful cutting shapes your stickers perfectly. Finishing protects them from wear and tear. Both steps help your stickers stand out.
Using Cutting Machines
Cutting machines make sticker cutting fast and precise. They follow your design exactly. You just place your printed sticker sheet on the machine. The machine uses blades to cut along the lines. It works well for many stickers or complex shapes. You save time and get neat edges every time.
Hand-cutting Methods
Hand-cutting is simple and needs only scissors or a craft knife. It works best for small sticker batches or simple shapes. Cut slowly and follow the outline carefully. Use a cutting mat for safety and clean cuts. Hand-cutting gives you control but takes more time.
Laminating For Durability
Laminating adds a clear layer on top of your stickers. It protects them from water, dirt, and sun damage. You can use a laminating machine or self-adhesive sheets. Laminated stickers last longer and stay bright. This step is important for outdoor or frequent-use stickers.
Applying And Storing Stickers
Applying and storing custom stickers properly ensures they look great and last long. Knowing how to prepare surfaces, apply stickers smoothly, and store them safely helps keep their quality intact. Follow these simple steps to handle your stickers with care.
Surface Preparation
Clean the surface where the sticker will go. Use soap and water or rubbing alcohol. Make sure the surface is dry and free of dust. Avoid rough or oily areas. A smooth, clean surface helps the sticker stick better and last longer.
Best Application Practices
Peel the sticker carefully from the backing paper. Avoid touching the adhesive side with your fingers. Place one edge of the sticker on the surface first. Slowly press down, moving from one side to the other. Use a flat tool or card to smooth out air bubbles. Work gently to keep the sticker flat and neat.
Storage Tips To Prevent Damage
Store unused stickers in a cool, dry place. Keep them flat to avoid bends or creases. Use a plastic sleeve or envelope to protect from dust and moisture. Avoid direct sunlight or heat, which can fade colors. Proper storage keeps stickers ready for use anytime.

Credit: www.youtube.com
Frequently Asked Questions
What Materials Do I Need To Make Custom Stickers?
You need sticker paper, a printer, cutting tools, and design software. Vinyl or matte sticker paper works best. Use scissors or a cutting machine for precision. Design software like Adobe Illustrator or Canva helps create unique designs easily.
How Can I Design Custom Stickers At Home?
Use free or paid design software to create your artwork. Choose colors and fonts that fit your style. Save your design in high resolution. Print it on sticker paper, then cut around the edges carefully for clean stickers.
What Types Of Printers Work Best For Stickers?
Inkjet and laser printers both work well for stickers. Inkjet printers offer vibrant colors, ideal for detailed designs. Laser printers provide durability and water resistance. Use high-quality ink and sticker paper for best results.
How Do I Make Stickers Waterproof?
Use waterproof vinyl sticker paper or laminate your stickers. Laminating protects ink from water and fading. You can also spray a clear waterproof sealant after printing. This ensures your custom stickers last longer outdoors or on items exposed to moisture.
Conclusion
Making custom stickers is easier than you might think. Start with a clear design and choose the right materials. Use simple tools or online services to print your stickers. Practice helps improve your results over time. Custom stickers add a personal touch to your items.
They also make great gifts or decorations. Keep experimenting with colors and shapes. Enjoy the creative process and have fun. Your unique stickers can bring smiles and style anywhere. Give it a try today!