Are you looking to make your brand stand out or add a personal touch to your belongings? Custom printed stickers are a simple and powerful way to do just that.
Thank you for reading this post, don't forget to subscribe!Imagine turning your ideas into vibrant, eye-catching designs that stick anywhere you want. Whether you’re promoting your business, decorating your laptop, or creating unique gifts, knowing how to custom print stickers can save you time and money while giving you full control over the look.
Keep reading, and you’ll discover easy steps and insider tips to create stickers that truly represent you.
Credit: www.makestickers.com
Choosing Sticker Materials
Choosing the right material for custom print stickers is key. It affects look, feel, and how long the sticker lasts. Different materials fit different uses. Knowing the options helps you pick the best one.
Paper Vs Vinyl
Paper stickers are soft and easy to print. They cost less and work well indoors. Vinyl stickers feel smooth and strong. They resist water and sunlight. Use vinyl for outdoor or long-term use.
Durability Factors
Think about where stickers will go. Will they face rain, sun, or rough use? Vinyl handles weather better than paper. Laminated stickers last longer by adding a clear cover. Choose based on how tough the sticker must be.
Eco-friendly Options
Eco-friendly materials help the planet. Biodegradable paper breaks down fast. Some vinyl types use less plastic and are recyclable. Look for stickers made with safe inks too. These choices reduce waste and harm to nature.
Credit: www.stickermountain.com
Designing Your Sticker
Designing your sticker is the first step to create a unique and attractive product. A well-designed sticker grabs attention and delivers your message clearly. Focus on simplicity and clarity to make your design stand out.
Good design helps your sticker look professional and appealing. It also ensures the final print matches your vision. Follow these tips to create a design that works well for custom printing.
Selecting The Right Software
Choose software that fits your skill level and design needs. Programs like Adobe Illustrator or CorelDRAW work well for detailed vector designs. For beginners, Canva or Inkscape offer easy tools and templates.
Pick a program that supports high-quality exports. Vector software keeps your design sharp at any size. This is important for sticker printing to avoid blurry images.
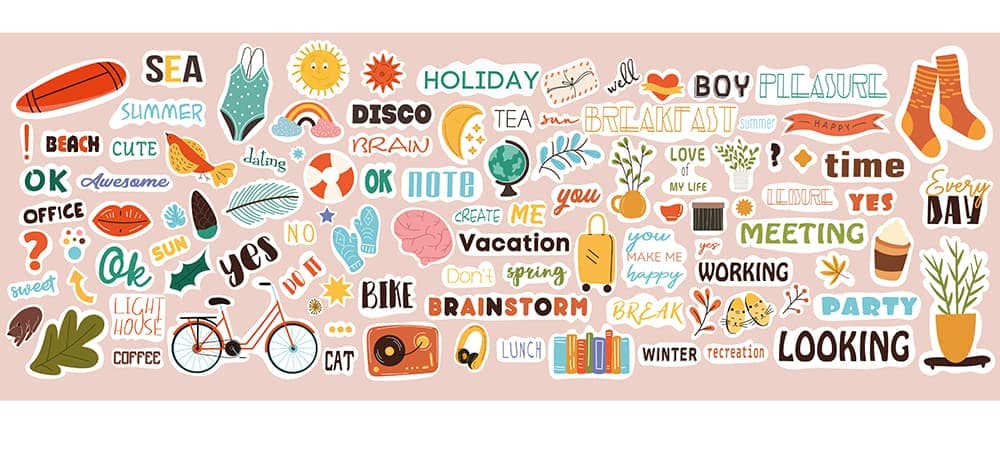
Creating Eye-catching Graphics
Use bold colors and simple shapes to catch the eye. Avoid too much detail, which can get lost when the sticker is small. Clear text and strong contrasts improve readability.
Include your brand logo or a unique image to make the sticker personal. Balance your elements so the design looks clean and professional. Test your design by zooming out to check visibility.
Setting Proper Dimensions And Resolution
Set your sticker size before you start designing. Typical sizes range from 2 to 5 inches. Use the exact dimensions to avoid resizing later.
Use a resolution of 300 DPI (dots per inch) for sharp print quality. Lower resolution causes pixelation and poor print results. Save your files in formats like PDF, PNG, or SVG for best printing results.
Printing Methods
Choosing the right printing method is key to custom print stickers. Each method affects quality, cost, and durability. Understanding these options helps you pick what fits your needs best.
Inkjet Printing
Inkjet printers spray tiny droplets of ink onto sticker paper. They work well for bright colors and detailed designs. This method is affordable and easy for small batches. The print may smudge if exposed to water without a coating.
Laser Printing
Laser printers use heat to fuse toner onto the paper surface. This process creates sharp images and strong colors. Laser prints resist smudges and water better than inkjet prints. It suits medium-sized projects with durable stickers.
Professional Printing Services
Professional services offer high-quality prints with advanced machines. They handle large orders and complex designs easily. These services use special materials and inks for long-lasting stickers. The results are vibrant, durable, and perfect for business use.
Cutting Techniques
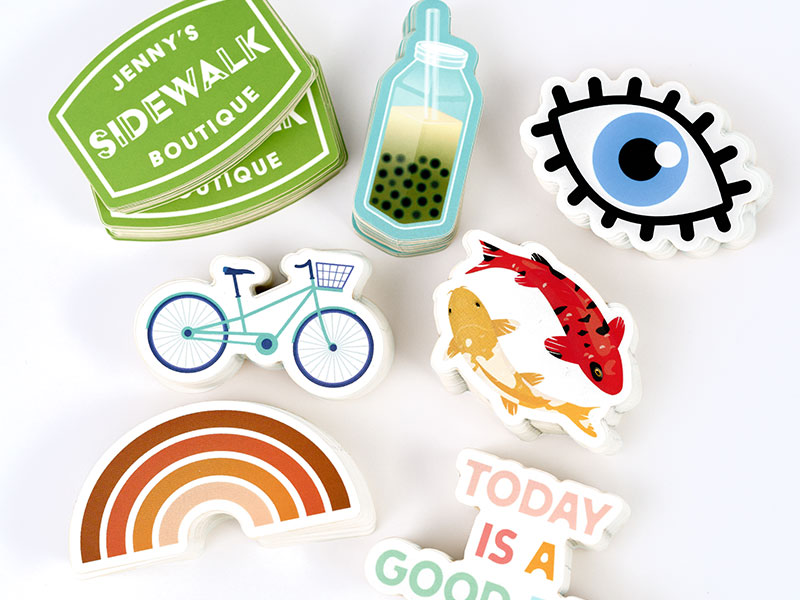
Cutting techniques shape how stickers look and feel. They define the edges and can make stickers easy to peel. Choosing the right cutting method helps your stickers stand out. Each technique fits different sticker styles and uses. Understanding these methods lets you pick the best option for your project.
Die-cutting
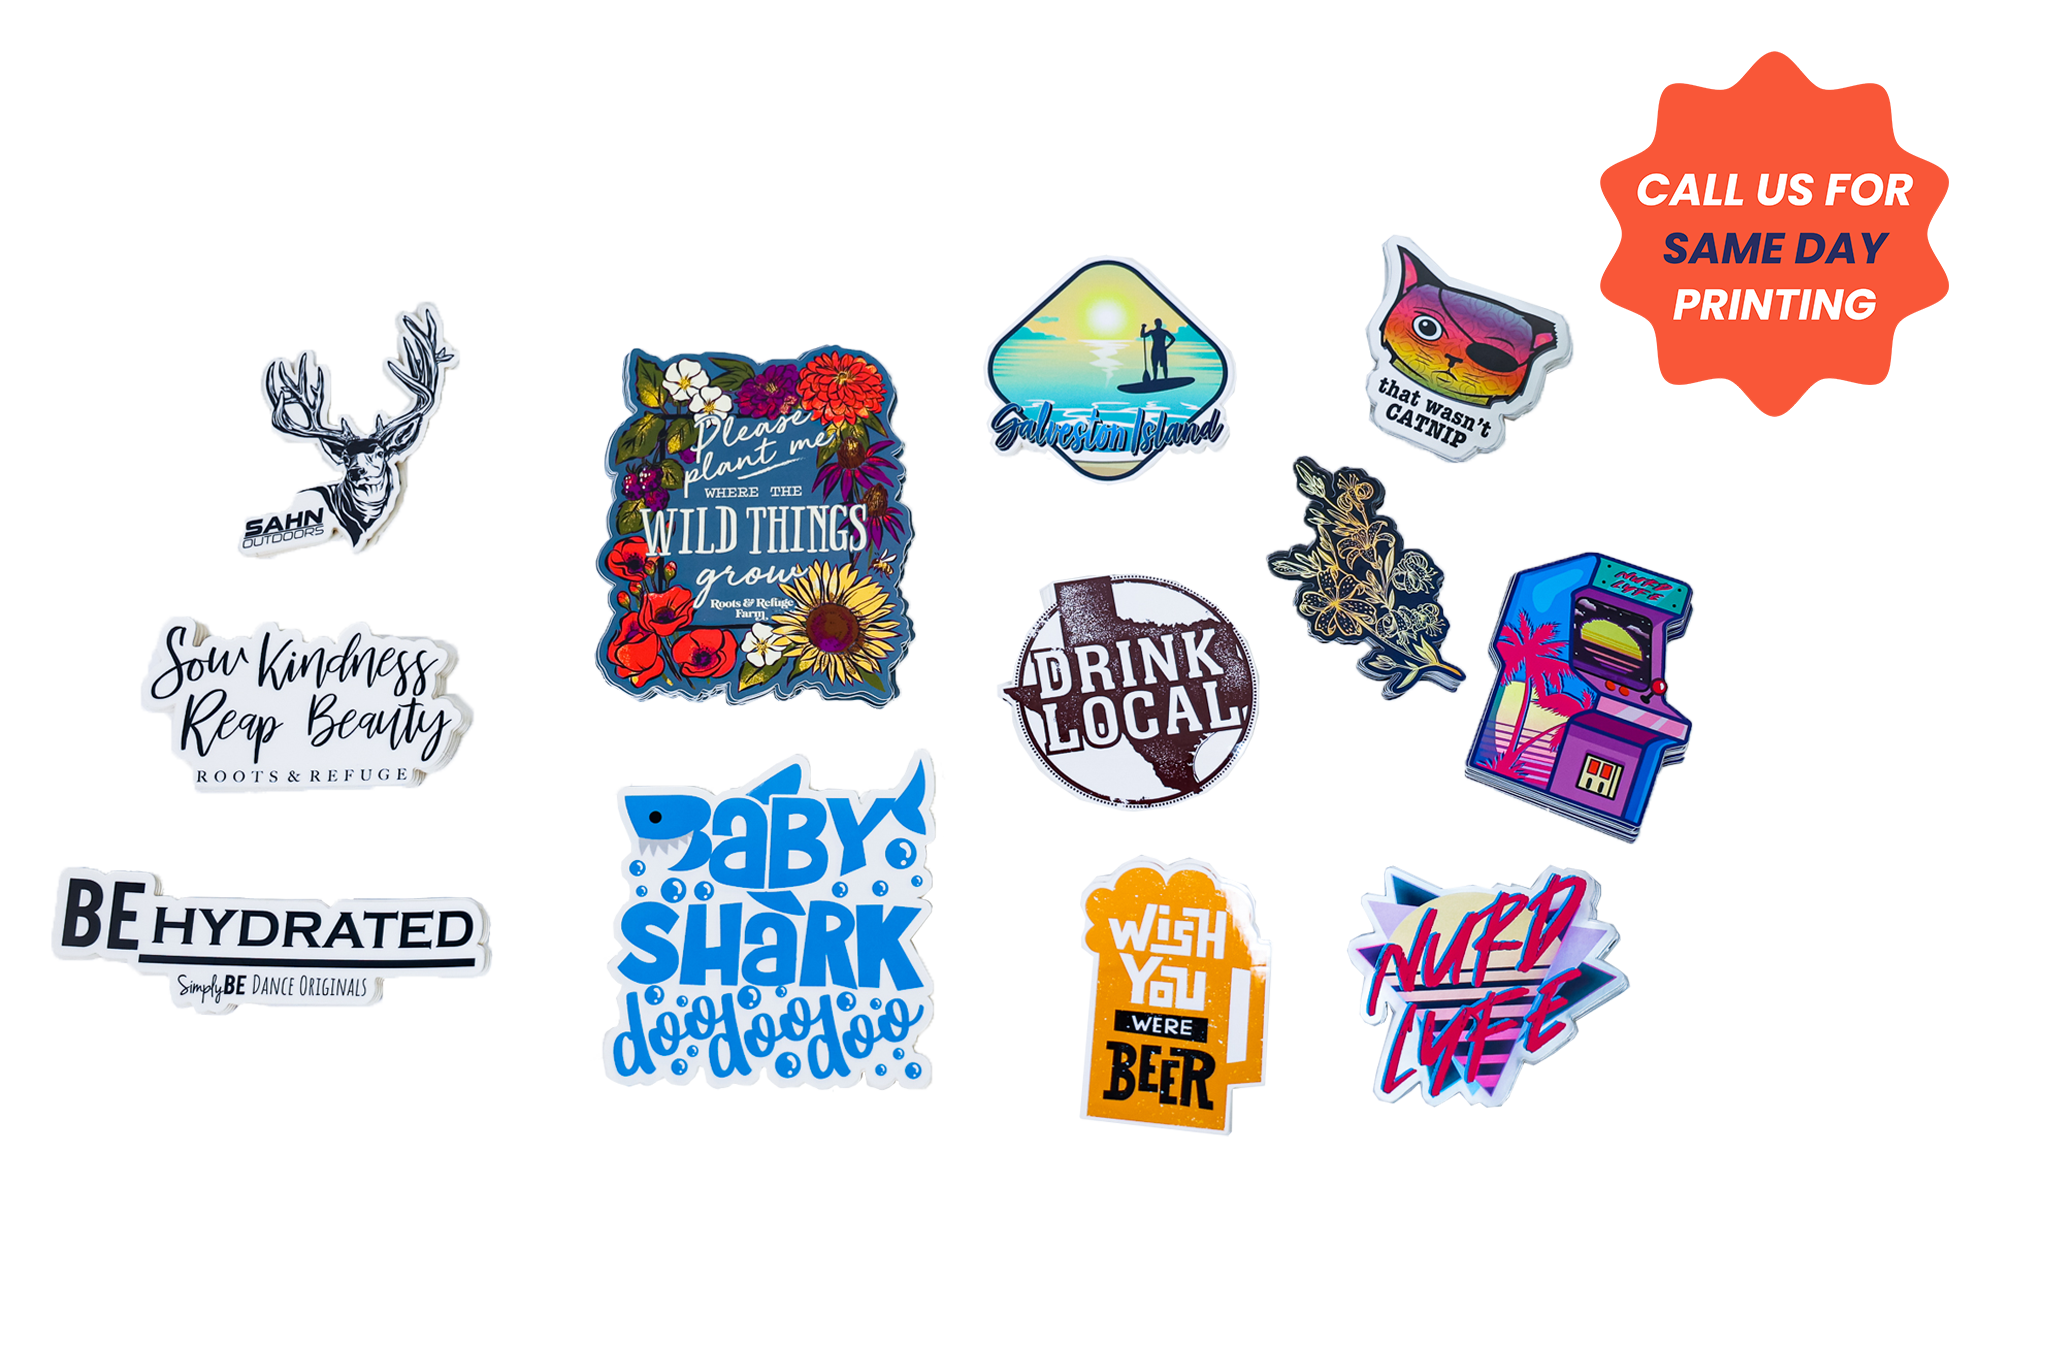
Die-cutting uses a custom blade to cut stickers into shapes. It creates clean, sharp edges around each sticker. This method is great for complex designs and unique shapes. Die-cut stickers have no extra material around them. They look professional and are easy to peel off.
Kiss-cutting
Kiss-cutting cuts the top sticker layer but not the backing. It leaves the backing paper intact. Stickers stay on the sheet until peeled. This method is perfect for sticker sheets or multiple small stickers. Kiss-cutting allows easy removal without damaging the sticker.
Using A Cutting Machine
Cutting machines offer precision and flexibility. They use a blade to cut sticker sheets at home or in small batches. Machines like Cricut or Silhouette work well for custom projects. You can create various shapes and sizes with digital designs. Cutting machines save time and reduce waste.
Finishing Touches
Finishing touches give your custom stickers a polished, professional look. They protect the design and improve sticker use. Small details here make a big difference in quality and appeal.
Laminating For Protection
Laminating covers stickers with a thin plastic layer. This protects them from water, scratches, and sunlight. It keeps colors bright and sharp for a long time. You can choose gloss or matte finish. Laminating also makes stickers feel smooth and strong.
Adding Adhesive Types
Adhesives hold stickers in place. Choose one based on where you will stick them. Permanent adhesive sticks firmly and lasts long. Removable adhesive peels off easily without damage. Repositionable adhesive lets you move stickers a few times. Selecting the right adhesive improves sticker use and satisfaction.
Packaging Your Stickers
Good packaging keeps stickers safe during delivery. Use clear plastic sleeves or small envelopes. Add backing sheets for support and easy peeling. Label the package with your brand or design name. Neat packaging adds value and enhances customer experience.
Tips For Quality Control
Quality control is key to making great custom print stickers. It helps keep your stickers looking sharp and professional. Paying attention to details saves time and money. It stops mistakes before printing a large batch.
Follow these tips to check your stickers carefully. Spot problems early. Make sure colors and prints match your design exactly.
Color Accuracy Checks
Colors can look different on screen and paper. Always compare printed colors to your original design. Use a color guide or proofing tool. Check in good light to see true colors. Small color shifts can hurt your brand image.
Test Printing
Print a small sample before the full run. Check the sticker’s size, edges, and clarity. See how the ink sticks on the material. Test cuts to ensure they are clean and smooth. Fix issues on the sample to avoid wasting materials later.
Troubleshooting Common Issues
Blurry prints? Check printer settings and resolution. Colors too light or dark? Adjust ink levels or profiles. Stickers peeling? Use the right adhesive and paper type. Wrinkles or bubbles? Avoid moisture and improper handling. Fix these issues early to save costs and time.
Credit: www.hp.com
Frequently Asked Questions
What Materials Are Best For Custom Printed Stickers?
Vinyl and polyester are ideal for custom stickers. They offer durability, water resistance, and vibrant color retention. These materials work well indoors and outdoors, ensuring your stickers last longer and maintain quality.
How Do I Design My Own Custom Sticker?
Use graphic design software like Adobe Illustrator or Canva. Keep designs simple, clear, and high-resolution for best print results. Choose colors and fonts that match your brand or message.
What Printing Methods Are Used For Custom Stickers?
Common methods include digital printing, screen printing, and offset printing. Digital printing is cost-effective for small runs. Screen printing suits large batches with vibrant colors.
How Long Does It Take To Print Custom Stickers?
Printing time varies by quantity and method. Small orders take 1-3 days, while large batches may require up to 2 weeks. Always check with your printer for exact timelines.
Conclusion
Custom printing stickers lets you create unique, personal designs. Choose your materials and colors carefully. Use clear images for the best results. Small details make a big difference in quality. Print samples first to check your work. Stickers can help your brand or decorate items.
Enjoy the process and try different styles. Your creativity shows through every sticker you print. Keep practicing to improve your skills over time. Custom stickers add fun and personality to many things.