Are you ready to create stickers that stand out and bring your ideas to life? Designing printable stickers is easier than you think, and with the right tips, you can make your designs look professional and eye-catching.
Thank you for reading this post, don't forget to subscribe!Whether you want to decorate your planner, personalize gifts, or start a small business, this guide will help you master every step. Keep reading, and you’ll discover simple tricks to design stickers that everyone will love—and that you’ll be proud to print.

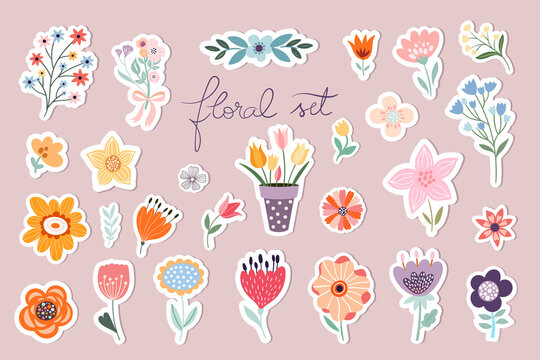
Credit: pngtree.com
Choosing Sticker Types
Choosing the right sticker type is key to a great design. Different materials and cuts affect how your stickers look and last. Think about where you will use the stickers and how they need to perform. This helps pick the best option for your project.
Vinyl Vs Paper Stickers
Vinyl stickers are strong and water-resistant. They work well outdoors or on items that get wet. Paper stickers feel softer and are cheaper. They suit indoor use or short-term projects. Vinyl costs more but lasts longer. Paper sticks well on dry, smooth surfaces.
Die-cut Vs Kiss-cut
Die-cut stickers are cut around the shape fully. You peel the whole sticker off easily. Kiss-cut stickers have a cut only through the top layer. The backing stays intact. Kiss-cut stickers peel more slowly and keep their shape better. Choose die-cut for bold shapes and kiss-cut for sticker sheets.
Clear Vs White Backgrounds
Clear background stickers blend with surfaces. They look clean and modern on glass or laptops. White background stickers show colors brighter and sharper. They work best on dark or colored surfaces. Clear stickers may lose visibility on similar tones. White backgrounds offer a classic look.
Credit: stock.adobe.com
Selecting Design Software
Choosing the right software is key for designing printable stickers. It shapes how your ideas come to life and how easy the process feels. Software varies from simple to advanced, so pick one that fits your skills and needs. This helps you create clear, vibrant designs that print well. Explore options for beginners, professionals, and mobile users below.
Free Tools For Beginners
Free design tools work well for new sticker makers. They have simple features and easy controls. Programs like Canva and Gravit Designer let you drag and drop shapes and text. These tools offer ready-made templates to save time. They support common file types needed for printing. Ideal for learning and small projects.
Professional Design Programs
Professional software suits detailed and complex sticker designs. Adobe Illustrator and CorelDRAW offer precise drawing tools and color control. They handle vector graphics, which keep images sharp at any size. These programs require some learning but deliver high-quality results. Best for those who want full creative control.
Mobile Apps For On-the-go
Mobile apps let you design stickers anywhere, anytime. Apps like Procreate Pocket and Adobe Fresco offer touch-friendly tools. They include brushes, layers, and easy export options. Perfect for quick sketches or final touches on your phone or tablet. Great for users who prefer working outside a computer.
Setting Sticker Dimensions
Setting sticker dimensions is a key step in designing printable stickers. It affects how your design looks and fits on the final product. Choosing the right size ensures your sticker prints clearly and appears as you want.
Dimensions also help printers know the exact space to cut. This prevents parts of your design from being cut off or too small to see. Understanding standard sizes and custom options makes your design process smoother.
Standard Sizes
Standard sticker sizes include small, medium, and large options. Common sizes are 2×2 inches, 3×3 inches, and 4×4 inches. These sizes fit well on laptops, water bottles, and notebooks. Using standard sizes saves time and reduces printing errors.
Printers often have templates for these sizes. This helps with quick setup and consistent results. Standard sizes also make it easier to compare prices from different printers.
Custom Shapes And Sizes
Custom stickers let you use unique shapes and sizes. You can create circles, stars, or even complex outlines. Custom sizes fit specific products or designs better. This option adds personality and stands out from regular stickers.
Keep your design simple for complex shapes. Thin lines or tiny details may not print clearly on small stickers. Check with your printer about their size limits and shape capabilities.
Bleed And Safe Zones
Bleed is extra space around your design that printers trim off. It prevents white edges from showing after cutting. Add at least 0.125 inches of bleed on all sides.
Safe zones keep important text and images inside a margin. This zone is usually 0.125 to 0.25 inches from the edge. Staying inside the safe zone avoids cutting off key parts of your design.
Both bleed and safe zones ensure your stickers look professional. They help your design stay intact and visually balanced after printing.
Design Elements To Include
Designing printable stickers needs careful choice of elements. These elements shape the sticker’s look and feel. They help your design stand out and send the right message. Focus on color, typography, and images. These parts work together to create great stickers.
Color Choices And Contrast
Colors catch the eye and set the mood. Pick colors that fit your sticker’s theme. Use bright colors for fun or soft tones for calmness. Contrast is key. Make sure the colors stand out from each other. High contrast helps text and images be clear and easy to see. Avoid using too many colors. Limit your palette to three or four colors. This keeps the design simple and neat.
Typography Tips
Text must be easy to read on small stickers. Use simple fonts with clear shapes. Avoid fancy or thin fonts that are hard to read. Stick to one or two font styles. Use bold or larger text for important words. Align the text properly. Center or left alignment works best for stickers. Leave enough space between letters and lines. This prevents the text from looking crowded.
Incorporating Illustrations And Icons
Images make stickers fun and memorable. Use simple illustrations that match your message. Icons help show ideas quickly. Choose icons that are easy to understand. Make sure images are clear and not too detailed. Small details can get lost when printed. Keep illustrations bold and clean. Balance images with text. Too many visuals can clutter the design.
Preparing Files For Print
Preparing files for print is a key step in designing printable stickers. Proper file setup helps avoid errors and ensures your stickers look great. Small mistakes in file preparation can cause colors to shift or edges to cut incorrectly. Clear, print-ready files save time and money at the printing stage.
File Formats To Use
Choose the right file format to keep your design sharp. Vector files like SVG, AI, or EPS work best for stickers. They keep edges smooth and colors clear at any size. For images, high-quality PNG or TIFF files are good choices. Avoid using low-resolution JPEGs as they can blur your design.
Resolution And Dpi Settings
Set your design resolution to 300 DPI (dots per inch). This is the standard for clear, detailed print. Lower DPI can make stickers look pixelated or blurry. Make sure your design size matches the final sticker size. This keeps your artwork crisp and accurate.
Adding Crop Marks And Bleeds
Crop marks show where to cut the stickers after printing. Bleeds add extra space beyond the edge of your design. This prevents white borders from showing after cutting. Add at least 1/8 inch (3 mm) of bleed around your design. Crop marks and bleeds help printers cut stickers cleanly and correctly.
Choosing Printing Methods
Choosing the right printing method is key to making great printable stickers. The printing method affects the sticker’s look, feel, and durability. It also impacts how much time and money you spend. Consider your project needs before picking a method. You want your stickers to look clear and last long.
Home Printing Options
Home printers can create stickers quickly and cheaply. Inkjet and laser printers work well for simple designs. Use special sticker paper made for your printer type. Printing at home lets you test designs easily. The quality depends on your printer and paper. Colors may fade faster than professional prints. Great for small batches and personal projects.
Professional Printing Services
Professional services offer high-quality and durable stickers. They use advanced printers and materials. Options include vinyl, matte, or glossy finishes. Print shops provide cutting and shaping services. Perfect for large orders or business use. The stickers often last longer and look sharper. They can handle complex designs and colors well.
Cost Considerations
Home printing costs less but uses your supplies. Sticker paper and ink can add up over time. Professional printing has a higher upfront cost. Bulk orders usually reduce the price per sticker. Think about how many stickers you need. Balance quality, quantity, and budget carefully. Choose the method that fits your project best.
Cutting And Finishing Tips
Cutting and finishing are key steps in designing printable stickers. They give your stickers a clean, polished look. These steps protect the design and make stickers easy to use. Proper cutting and finishing improve the sticker’s durability and appeal.
Using Cutting Machines
Cutting machines help create precise sticker shapes. They use digital files to cut around the design. This method saves time and reduces mistakes. Popular machines like Cricut and Silhouette are easy to use. Make sure to set the correct blade depth for your sticker paper. Test cuts help avoid wasting materials.
Manual Cutting Techniques
Manual cutting works well for small batches or simple shapes. Use sharp scissors or craft knives for clean edges. Cutting slowly improves accuracy and prevents tears. A cutting mat protects your workspace and keeps blades sharp. Use rulers for straight lines and stencils for curves. Patience is important for neat results.
Lamination And Protective Coatings
Lamination adds a clear protective layer to stickers. It prevents scratches, water damage, and fading. You can use self-adhesive laminating sheets or cold lamination machines. Protective coatings like spray sealants also enhance durability. Choose a matte or glossy finish based on your design. Proper finishing extends sticker life and maintains quality.
Troubleshooting Common Issues
Troubleshooting common issues is important in designing printable stickers. Problems can affect the final look and quality. Knowing how to fix these issues saves time and materials. It helps create stickers that look professional and last longer.
Color Mismatch Problems
Colors may look different on screen and print. Printers use inks that mix differently than digital colors. Use CMYK color mode for your designs. Check printer settings to match color profiles. Test print on the sticker paper before the final run. Adjust colors in your design software if needed.
Peeling And Durability
Stickers may peel off easily or wear out fast. Use high-quality sticker paper for better grip. Choose waterproof or laminate finishes for extra protection. Avoid touching the sticky side with fingers. Store stickers in a cool, dry place to keep adhesive strong. Press firmly when applying stickers for better hold.
Alignment And Registration Errors
Misalignment causes parts of the design to shift or cut off. Check your printer’s registration settings before printing. Use crop marks and bleed areas in your design file. Print a test sheet to see if cuts match the design. Adjust paper guides in the printer to keep sheets straight. Small shifts can ruin the sticker’s look.
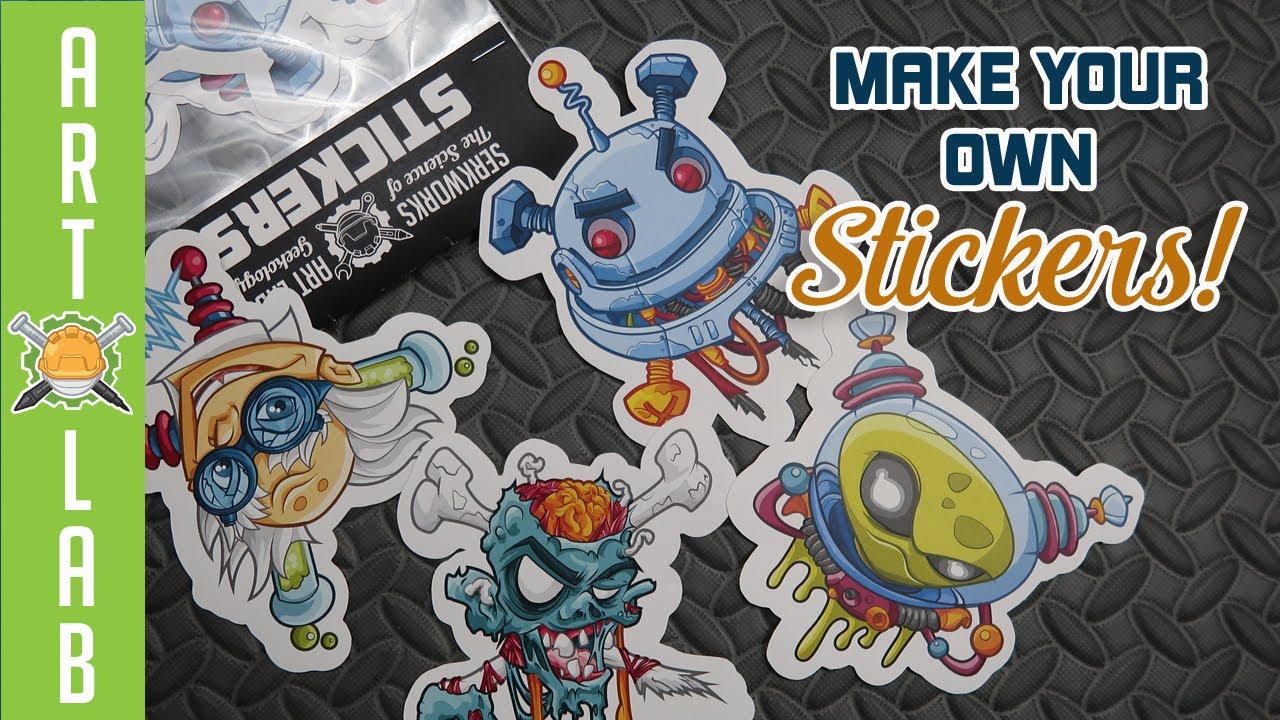
Credit: www.youtube.com
Frequently Asked Questions
What Materials Are Best For Printable Stickers?
Printable stickers work best on vinyl or high-quality adhesive paper. These materials ensure durability and vibrant color output. Vinyl stickers resist water and fading. Adhesive paper is ideal for simple, indoor use. Choose materials based on your sticker’s purpose and printing method.
How Do I Create Sticker Designs For Printing?
Use graphic design software like Adobe Illustrator or Canva. Ensure your design has 300 DPI resolution for clear prints. Include bleed areas to avoid cutting errors. Keep designs simple with bold colors for better visibility. Export files in PNG or PDF for best results.
What Printer Settings Optimize Sticker Printing Quality?
Set your printer to the highest resolution, at least 300 DPI. Use the correct paper type, such as photo or glossy paper settings. Enable color management for accurate tones. Print a test page to check alignment and color accuracy before mass printing.
How Can I Cut Printable Stickers Accurately?
Use a cutting machine like Cricut or Silhouette for precise cuts. Alternatively, use a craft knife and ruler for manual cutting. Ensure your design includes cut lines. Cutting machines work best with vector files. Always align stickers carefully before cutting to avoid mistakes.
Conclusion
Designing printable stickers can be simple and fun. Start with clear ideas and use easy tools. Choose colors and shapes that catch the eye. Keep your design neat and not too crowded. Print a test sheet to check how it looks.
Adjust your work until it feels just right. With practice, your stickers will look great every time. Enjoy creating and sharing your unique designs with others. Keep trying and learning, and your skills will grow. Designing stickers can brighten your day and your projects.