You want to make a great first impression, and having a sharp business card is key. But ordering from a printer can take time and cost more than you expect.
Thank you for reading this post, don't forget to subscribe!What if you could create professional-looking business cards right at home, on your own schedule? Imagine saving money, controlling the design, and having your cards ready whenever you need them. This guide will show you exactly how to print business cards at home that look polished and professional.
Keep reading, and you’ll discover simple steps to stand out without the wait or the extra cost.
Benefits Of Printing At Home
Printing business cards at home offers many advantages. You control the process from start to finish. It saves money and time. You can make changes anytime without extra cost. The flexibility helps create cards that match your style and needs perfectly.
Cost Savings
Printing at home cuts expenses on professional services. No fees for design or printing jobs. You only pay for paper and ink. This makes it easier to print small batches without wasting money. It suits startups and small businesses with tight budgets.
Convenience And Speed
Print cards whenever you want. No waiting for shipping or store hours. Need cards fast? Just hit print. You can fix mistakes quickly and print again. This saves time and reduces stress.
Customization Options
Design cards to fit your brand exactly. Choose fonts, colors, and layouts with ease. Test different styles and sizes without limits. Personalize cards for events or clients easily. This freedom helps your cards stand out.
Credit: www.youtube.com
Choosing The Right Paper
Choosing the right paper is key for printing business cards at home. It affects how your card feels and looks. The paper you pick shows your style and professionalism. A good choice makes your card stand out and last longer.
Paper Weight And Thickness
Paper weight tells how heavy the card feels. It is measured in grams per square meter (gsm). Thicker paper feels stronger and more durable. Common weights for business cards are 250 to 350 gsm. Choose heavier paper for a premium feel. Thin paper can look cheap and bend easily.
Finish Types
The finish changes the card’s look and texture. Matte finish is smooth and soft without shine. It is easy to write on and looks modern. Glossy finish is shiny and bright. It makes colors pop but can show fingerprints. Satin finish is a mix of matte and glossy. It gives a soft shine and smooth touch.
Size And Shape Options
Standard size is 3.5 by 2 inches. It fits wallets and cardholders well. You can choose square or rounded corners for a unique look. Unusual shapes catch attention but may not fit everywhere. Keep size practical to make sure your card is easy to carry.
Design Tips For Home Printing
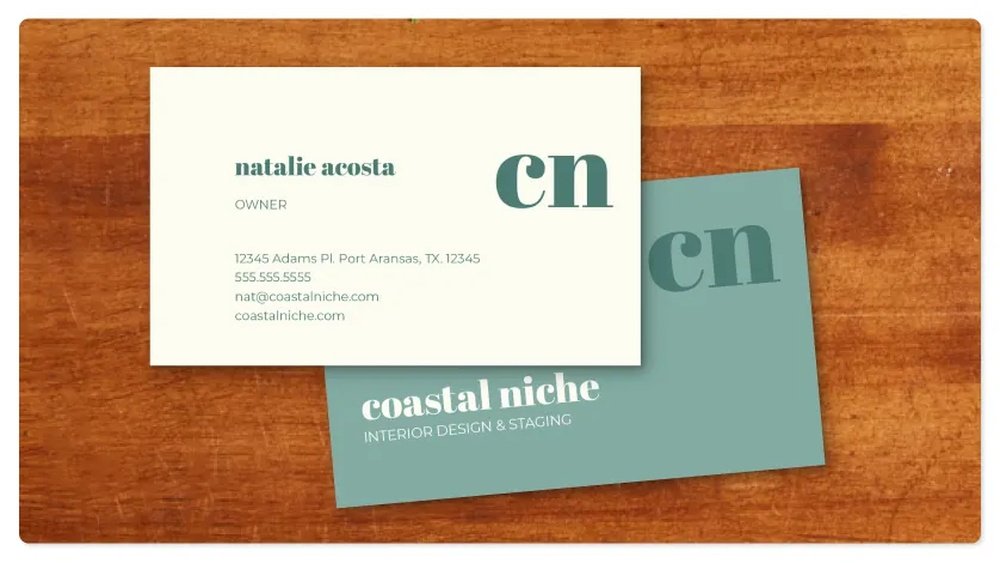
Designing business cards at home can be simple and fun. Good design helps your card stand out and look professional. Focus on clear, easy-to-print styles that work with home printers. Keep your design neat and balanced. Use colors and fonts that print well on regular paper or cardstock. Follow these tips to create business cards you can print with confidence.
Simple And Clear Layouts
Choose a clean layout that shows your information clearly. Avoid clutter and keep space between text and edges. Use boxes or lines to separate sections if needed. Align text to the left or center for easy reading. A simple layout helps your card look tidy and professional.
Effective Use Of Colors
Pick two or three colors that match your brand or style. Use light backgrounds with dark text for better print results. Test colors on your printer to check how they look on paper. Avoid very bright or neon colors; they may not print well. Use color to highlight important details like your name or logo.
Readable Fonts
Choose fonts that are easy to read at small sizes. Sans-serif fonts like Arial or Helvetica work well for business cards. Keep font size at least 8 points to avoid blur when printing. Use bold fonts for headings or your name to draw attention. Avoid fancy or script fonts that can be hard to read.
Printer Settings For Best Results
Getting the best print quality for your business cards starts with the right printer settings. These settings control how your printer uses ink and paper. Small changes can make a big difference in the final look of your cards.
Adjusting printer settings helps avoid smudges, faded colors, and blurry text. It also saves ink and paper. Proper settings ensure sharp images and crisp text, giving your cards a professional feel.
Selecting The Correct Paper Type
Choose the paper type that matches your printer’s options. Most printers have settings like “Plain,” “Photo,” or “Cardstock.” Select “Cardstock” or a thick paper type for business cards. This helps the printer use the right amount of ink and dry time.
Using the wrong paper type can cause ink to smudge or colors to bleed. Also, thick paper needs slower printing to avoid jams. Check your printer manual for the best paper recommendation.
Adjusting Print Quality
Set your printer to the highest quality or “Best” mode for sharp details. This mode uses more ink but creates clear text and images. Avoid “Draft” mode as it lowers quality and looks faded.
High-quality printing slows down the process but improves results. Balance speed and quality based on your needs. For business cards, prioritize quality over speed.
Handling Color Management
Color management keeps your printed colors close to what you see on screen. Use your printer’s color settings or software to adjust colors. Choose “Color Matching” or “ICC Profiles” if available.
Some printers let you turn off color correction for better control. Test print small samples to check color accuracy. Proper color handling makes your business cards look vibrant and true to your design.
Cutting And Finishing Techniques
Cutting and finishing are key steps in making home-printed business cards look sharp and professional. Proper cutting gives cards clean edges. Finishing adds style and texture. These small details make a big difference in how your card feels and stands out.
Using A Paper Cutter
A paper cutter helps cut cards evenly and straight. It saves time and effort compared to scissors. Align the paper carefully before cutting. Use a sharp blade to avoid rough edges. Cut one sheet at a time for best results. This tool ensures your cards look tidy and uniform.
Rounded Corners And Special Effects
Rounded corners add a smooth, modern look to cards. You can use a corner punch tool for this. It also prevents the corners from bending easily. Special effects like foil or spot UV can be added later. These effects catch light and draw attention to your card’s key parts.
Adding Texture Or Embossing
Texture makes your card feel unique and interesting. Embossing raises parts of the card’s surface. This technique creates a 3D effect on logos or text. You can try dry embossing with simple tools at home. These touches give your card a professional and tactile appeal.
Credit: www.youtube.com
Common Mistakes To Avoid
Printing business cards at home saves time and money. Yet, many make simple mistakes that spoil the final look. Avoiding these errors ensures your cards look professional and clear. Here are common mistakes to watch out for.
Overcrowding The Design
Too much information clutters the card. Small text and many images confuse readers. Focus on key details: name, title, phone, and email. Leave enough empty space to keep the design clean. A simple layout makes a stronger impression.
Ignoring Bleed Areas
Bleed areas prevent white edges after cutting. Designs must extend beyond the card edge by at least 1/8 inch. Ignoring this causes uneven borders. Check your printer’s guidelines for exact bleed size. Proper bleed keeps your card looking neat.
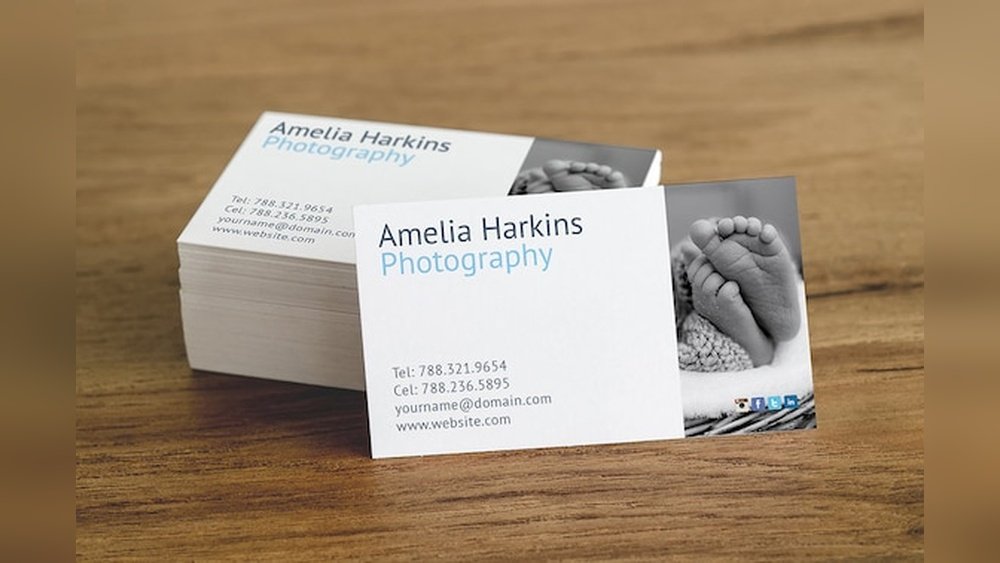
Using Low-quality Images
Low-resolution images appear blurry or pixelated. Use images with at least 300 dpi for sharp prints. Avoid copying images from websites without checking quality. Clear logos and photos boost your card’s professionalism. Always preview before printing.
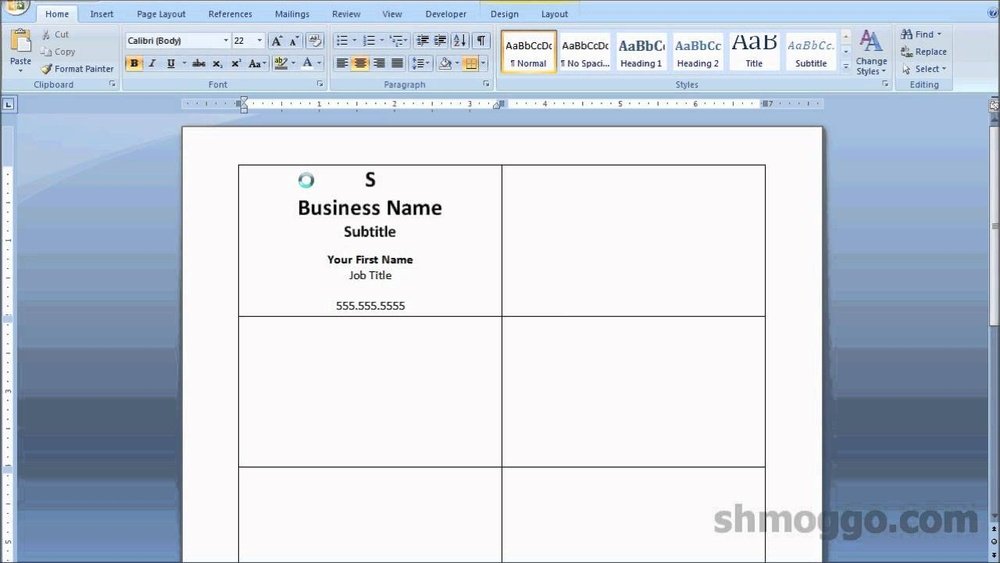
Tools And Software For Diy Cards
Creating business cards at home is easier with the right tools. Choosing the best software helps you design cards that look professional. Many options suit beginners and those with some design experience. These tools save time and let you customize every detail.
Design Software Options
Popular design programs include Adobe Illustrator and Canva. Illustrator is powerful but can be complex for beginners. Canva offers simple drag-and-drop features and many templates. Microsoft Word and Publisher also work well for basic designs. These programs let you add text, logos, and colors easily.
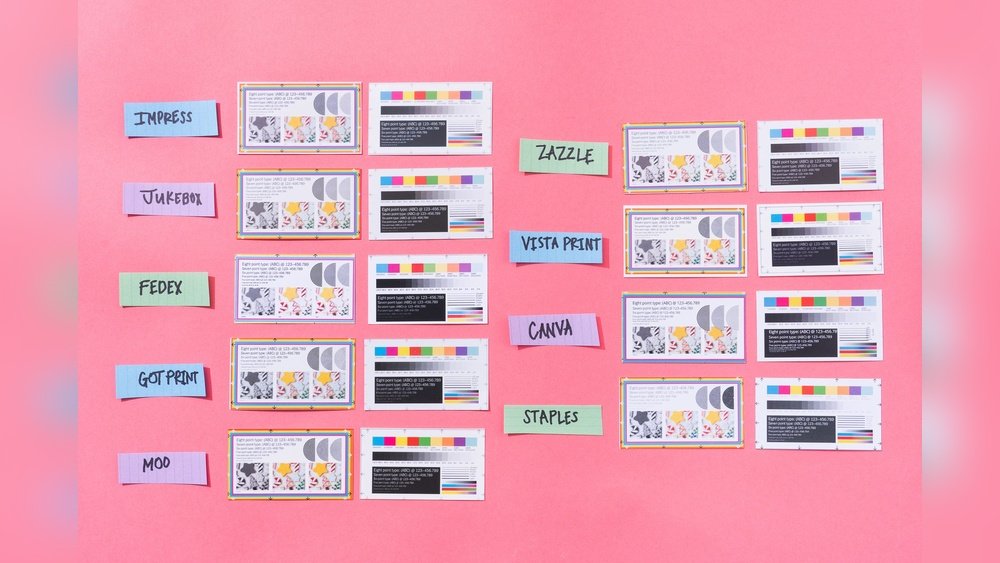
Templates And Resources
Templates speed up the design process. Sites like Canva, Vistaprint, and Avery provide free templates. Templates fit standard business card sizes. They include guides to help with margins and cutting. Using templates reduces mistakes and saves printing costs.
Mobile Apps For Quick Designs
Mobile apps let you create cards on your phone or tablet. Apps like Canva and Adobe Spark are user-friendly. They offer ready-made templates and easy editing tools. You can design cards anytime and anywhere. These apps are perfect for quick updates or last-minute ideas.
Credit: www.etsy.com
Frequently Asked Questions
What Materials Do I Need To Print Business Cards At Home?
You need cardstock paper, a color printer, and business card templates. High-quality cardstock ensures durability. Inkjet or laser printers work well for clear prints. Templates help align text and images perfectly.
How Can I Design Professional Business Cards At Home?
Use free or paid design software like Canva or Adobe Spark. Choose clean fonts and simple layouts. Include essential info: name, title, contact, and logo. Preview the design before printing to avoid errors.
What Is The Best Paper Type For Home-printed Cards?
Thick cardstock (around 80-110 lb) is ideal. It provides sturdiness and a professional feel. Matte or glossy finishes depend on your preference. Avoid thin paper to prevent bending and tearing.
How Do I Cut Business Cards Accurately At Home?
Use a paper cutter or sharp scissors for straight edges. Measure and mark cutting lines with a ruler. Cutting slowly and steadily prevents uneven edges. A cutting mat can help protect surfaces.
Conclusion
Printing business cards at home saves time and money. You control the design and make changes anytime. Quality paper and a good printer create a professional look. Keep your cards simple and clear for easy reading. Handing out your own cards feels personal and thoughtful.
Try different styles to find what suits you best. Start with basic tools and improve as you go. Home printing keeps your brand close and flexible. Give it a try and see the difference yourself.